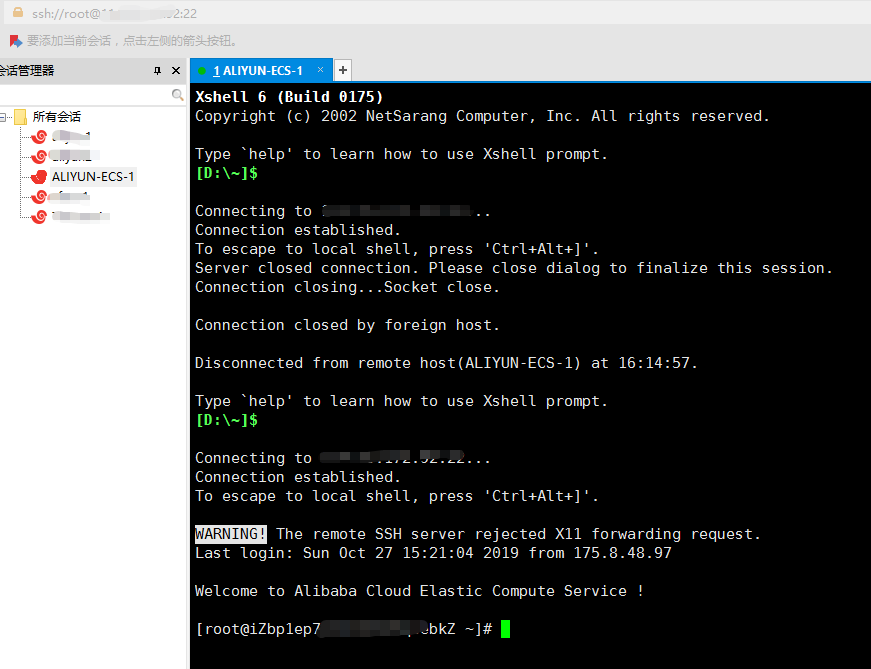
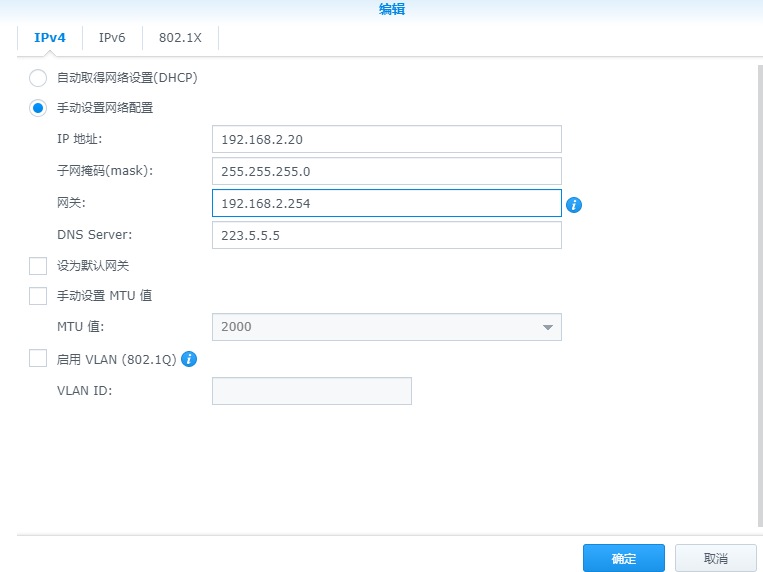
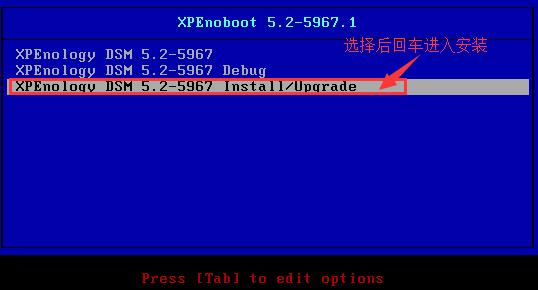
家里整了2块8T硬盘,装了黑群晖,开通公网IP,一如IT童鞋的一贯作风——自己瞎倒腾
阿里云上买个便宜的域名,通过域名解析到公网IP,可以在公网访问自己的NAS和其他服务。
但问题来了,家里是电信光纤,打了客服帮忙开通了公网IP,但并不是固定IP,IP会变化的,一会是14.X.X.X,一会是113.X.X.X,不太懂IP网段规划的事情(博客咋没的表情包。。。),难道每次都去阿里云的控制台上修改解析IP?
IT童鞋的毛病就是,能自动化一定搞自动化,一直手工干活的绝对提升不了产值。
阿里云的SDK了解一下:(用Python3搞了,SDK也没分清楚Python2还是Python3,但是pip装安装包的时候装到python3去了。。索性用Python3了。个人是习惯用Python2的,包括公司的一些运维脚本)
https://help.aliyun.com/document_detail/135562.html?spm=a2c4g.11186623.6.543.533228b751lfza
阿里云做的很令人称赞的一点是SDK齐全,示例代码齐全,还可以在线调试(也就是WebShell而已其实也没啥。。)。国家云行业厂商的标杆啊。(我特么又不是阿里的为啥这么说。)
先装一下python第三方包,
pip install alibaba-cloud-python-sdk-v2 #如果有遇到no module six啥的提示再继续pip install six等,缺什么库就装什么,灵活应对一下。pip install alibaba-cloud-python-sdk-v2 #如果有遇到no module six啥的提示再继续pip install six等,缺什么库就装什么,灵活应对一下。pip install alibaba-cloud-python-sdk-v2 #如果有遇到no module six啥的提示再继续pip install six等,缺什么库就装什么,灵活应对一下。
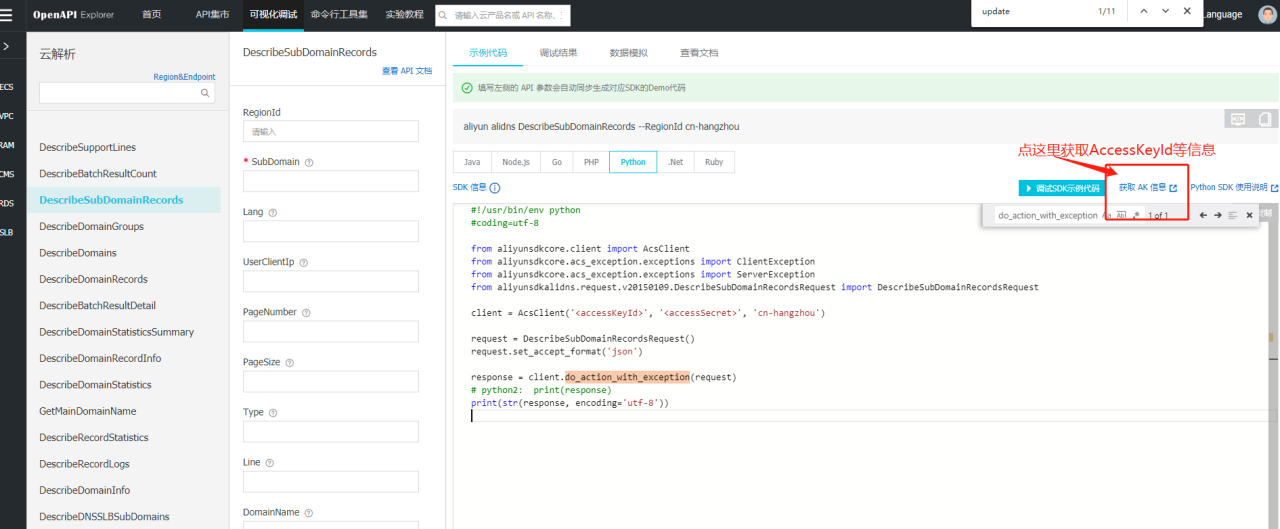
创建一下用户的AccessKey,好像跟RAM那里创建不太一样,没有深究,直接获取一个能用就行。入口可以从以下图片的红框进入。
代码如下:
#!/usr/bin/env python #coding=utf-8 from aliyunsdkcore.client import AcsClient from aliyunsdkcore.acs_exception.exceptions import ClientException from aliyunsdkcore.acs_exception.exceptions import ServerException from aliyunsdkalidns.request.v20150109.DescribeSubDomainRecordsRequest import DescribeSubDomainRecordsRequest from aliyunsdkalidns.request.v20150109.UpdateDomainRecordRequest import UpdateDomainRecordRequest import urllib import json import sys #获取公网IP def get_internet_ip(): with urllib.request.urlopen('http://www.3322.org/dyndns/getip') as response: html = response.read() ip = str(html, encoding='utf-8').replace("\n", "") return ip natip=get_internet_ip(); print("natip:" + natip) #ALIYUN的client,accessKey和accessSecret自己替换一下 client = AcsClient('accessKey', 'accessSecret', 'cn-shenzhen') def updateDNS(subdomain): # 获取现有的DNS信息 request = DescribeSubDomainRecordsRequest() request.set_accept_format('json') #request.set_SubDomain("nas.huangchenjie.top") request.set_SubDomain(subdomain) response = client.do_action_with_exception(request) datajson = json.loads(str(response, encoding='utf-8')) currentip = datajson["DomainRecords"]['Record'][0]['Value'] print("currentip: " + currentip) #比较DNS中的IP与现有的公网IP if currentip==natip: print("currentip equals natip, return") return 0 #修改DNS信息 request = UpdateDomainRecordRequest() request.set_accept_format('json') request.set_RecordId(datajson["DomainRecords"]['Record'][0]['RecordId']) request.set_RR(datajson["DomainRecords"]['Record'][0]['RR']) request.set_Type(datajson["DomainRecords"]['Record'][0]['Type']) request.set_Value(natip) response = client.do_action_with_exception(request) # python2: print(response) print(str(response, encoding='utf-8')) print("update DNS SUCCESS for subdomain" + subdomain) pass #你的域名替换一下,有多个就调用多次咯。 updateDNS("你的域名")#!/usr/bin/env python #coding=utf-8 from aliyunsdkcore.client import AcsClient from aliyunsdkcore.acs_exception.exceptions import ClientException from aliyunsdkcore.acs_exception.exceptions import ServerException from aliyunsdkalidns.request.v20150109.DescribeSubDomainRecordsRequest import DescribeSubDomainRecordsRequest from aliyunsdkalidns.request.v20150109.UpdateDomainRecordRequest import UpdateDomainRecordRequest import urllib import json import sys #获取公网IP def get_internet_ip(): with urllib.request.urlopen('http://www.3322.org/dyndns/getip') as response: html = response.read() ip = str(html, encoding='utf-8').replace("\n", "") return ip natip=get_internet_ip(); print("natip:" + natip) #ALIYUN的client,accessKey和accessSecret自己替换一下 client = AcsClient('accessKey', 'accessSecret', 'cn-shenzhen') def updateDNS(subdomain): # 获取现有的DNS信息 request = DescribeSubDomainRecordsRequest() request.set_accept_format('json') #request.set_SubDomain("nas.huangchenjie.top") request.set_SubDomain(subdomain) response = client.do_action_with_exception(request) datajson = json.loads(str(response, encoding='utf-8')) currentip = datajson["DomainRecords"]['Record'][0]['Value'] print("currentip: " + currentip) #比较DNS中的IP与现有的公网IP if currentip==natip: print("currentip equals natip, return") return 0 #修改DNS信息 request = UpdateDomainRecordRequest() request.set_accept_format('json') request.set_RecordId(datajson["DomainRecords"]['Record'][0]['RecordId']) request.set_RR(datajson["DomainRecords"]['Record'][0]['RR']) request.set_Type(datajson["DomainRecords"]['Record'][0]['Type']) request.set_Value(natip) response = client.do_action_with_exception(request) # python2: print(response) print(str(response, encoding='utf-8')) print("update DNS SUCCESS for subdomain" + subdomain) pass #你的域名替换一下,有多个就调用多次咯。 updateDNS("你的域名")#!/usr/bin/env python #coding=utf-8 from aliyunsdkcore.client import AcsClient from aliyunsdkcore.acs_exception.exceptions import ClientException from aliyunsdkcore.acs_exception.exceptions import ServerException from aliyunsdkalidns.request.v20150109.DescribeSubDomainRecordsRequest import DescribeSubDomainRecordsRequest from aliyunsdkalidns.request.v20150109.UpdateDomainRecordRequest import UpdateDomainRecordRequest import urllib import json import sys #获取公网IP def get_internet_ip(): with urllib.request.urlopen('http://www.3322.org/dyndns/getip') as response: html = response.read() ip = str(html, encoding='utf-8').replace("\n", "") return ip natip=get_internet_ip(); print("natip:" + natip) #ALIYUN的client,accessKey和accessSecret自己替换一下 client = AcsClient('accessKey', 'accessSecret', 'cn-shenzhen') def updateDNS(subdomain): # 获取现有的DNS信息 request = DescribeSubDomainRecordsRequest() request.set_accept_format('json') #request.set_SubDomain("nas.huangchenjie.top") request.set_SubDomain(subdomain) response = client.do_action_with_exception(request) datajson = json.loads(str(response, encoding='utf-8')) currentip = datajson["DomainRecords"]['Record'][0]['Value'] print("currentip: " + currentip) #比较DNS中的IP与现有的公网IP if currentip==natip: print("currentip equals natip, return") return 0 #修改DNS信息 request = UpdateDomainRecordRequest() request.set_accept_format('json') request.set_RecordId(datajson["DomainRecords"]['Record'][0]['RecordId']) request.set_RR(datajson["DomainRecords"]['Record'][0]['RR']) request.set_Type(datajson["DomainRecords"]['Record'][0]['Type']) request.set_Value(natip) response = client.do_action_with_exception(request) # python2: print(response) print(str(response, encoding='utf-8')) print("update DNS SUCCESS for subdomain" + subdomain) pass #你的域名替换一下,有多个就调用多次咯。 updateDNS("你的域名")
运行以上代码:python3 ddns.py
.
原文链接:https://blog.csdn.net/hclchenjie/article/details/104453769?ops_request_misc=&request_id=66297cfa56294b99ae00ec3e8be05125&biz_id=&utm_medium=distribute.pc_search_result.none-task-blog-2~blog~koosearch~default-10-104453769-null-null.268%5Ev1%5Ekoosearch&utm_term=%E9%BB%91%E7%BE%A4%E6%99%96%E3%80%81docker%E3%80%81%E5%AE%B9%E5%99%A8%E9%95%9C%E5%83%8F%E3%80%81%E5%9F%9F%E5%90%8D%E6%B3%A8%E5%86%8C%E3%80%81%E5%AE%9D%E5%A1%94%E3%80%81%E5%8F%8D%E5%90%91%E4%BB%A3%E7%90%86%E3%80%81nginx%E3%80%81frp%E3%80%81%E5%8A%A8%E6%80%81%E5%9F%9F%E5%90%8D%E8%A7%A3%E6%9E%90%E3%80%81NAS%E3%80%81%E7%BE%A4%E6%99%96%E3%80%81%E9%98%BF%E9%87%8C%E4%BA%91%E3%80%81%E5%9F%9F%E5%90%8D%E8%A7%A3%E6%9E%90%E3%80%81%E5%86%85%E7%BD%91%E7%A9%BF%E9%80%8F%E3%80%81ipv6%E3%80%81ddns%E3%80%81%E8%BD%BB%E9%87%8F%E7%BA%A7%E4%BA%91%E6%9C%8D%E5%8A%A1%E5%99%A8%E3%80%81%E9%93%81%E5%A8%81%E9%A9%AC%E3%80%81%E5%A8%81%E8%81%94%E9%80%9A%E3%80%81DSM%E3%80%81DSM6.0%E3%80%81%E7%BE%A4%E6%99%96nas%E3%80%81%E4%BA%91%E6%9C%8D%E5%8A%A1%E5%99%A8%E3%80%81%E8%9C%97%E7%89%9B%E6%98%9F%E9%99%85%E3%80%81


