实验项目六Docker容器编排
实验环境:
CentOS 7.5
Docker 20.10.2
Docker-Compose 1.25.5
实验步骤:
[root@localhost ~]# cat /etc/redhat-release
CentOS Linux release 7.5.1804 (Core)

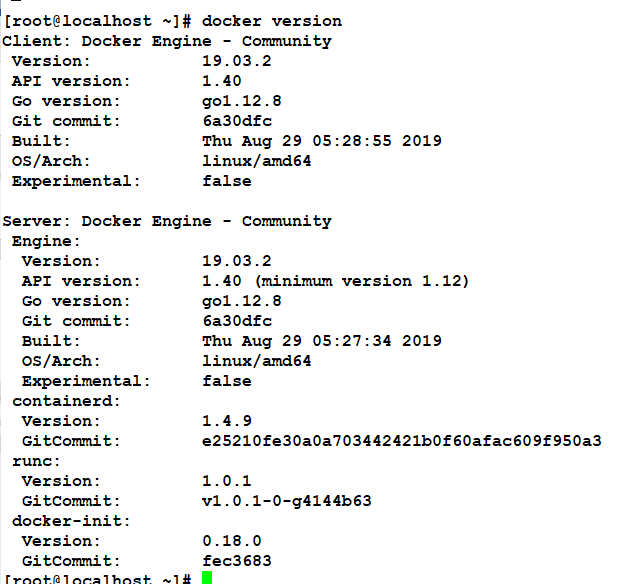
[root@localhost ~]# docker version # Docker版本
Client: Docker Engine – Community
Version: 20.10.2
API version: 1.41
Go version: go1.13.15
Git commit: 2291f61
Built: Mon Dec 28 16:17:48 2020
OS/Arch: linux/amd64
Context: default
Experimental: true
Server: Docker Engine – Community
Engine:
Version: 20.10.2
API version: 1.41 (minimum version 1.12)
Go version: go1.13.15
Git commit: 8891c58
Built: Mon Dec 28 16:16:13 2020
OS/Arch: linux/amd64
Experimental: false
containerd:
Version: 1.4.3
GitCommit: 269548fa27e0089a8b8278fc4fc781d7f65a939b
runc:
Version: 1.0.0-rc92
GitCommit: ff819c7e9184c13b7c2607fe6c30ae19403a7aff
docker-init:
Version: 0.19.0
GitCommit: de40ad0
[root@localhost ~]# docker-compose version # Docker-compose版本
docker-compose version 1.25.5, build 8a1c60f6
docker-py version: 4.1.0
CPython version: 3.7.5
OpenSSL version: OpenSSL 1.1.0l 10 Sep 2019

参考:
Docker-Compose官方搭建Wordpress教程:https://docs.docker.com/compose/wordpress/
1.下载项目(docker-compose.yml)
[root@localhost ~]# cd /home/
[root@localhost home]# mkdir my_wordpress
[root@localhost home]# cd my_wordpress/

[root@localhost my_wordpress]# vim docker-compose.yml
version: '3.3' #compose文件版本
services:
db: # 服务1:db
image: mysql:5.7 # 使用镜像 mysql:5.7版本
volumes:
– db_data:/var/lib/mysql # 数据持久化
restart: always # 容器服务宕机后总是重启
environment: # 环境配置
MYSQL_ROOT_PASSWORD: somewordpress
MYSQL_DATABASE: wordpress
MYSQL_USER: wordpress
MYSQL_PASSWORD: wordpress
wordpress: # 服务2:wordpress
depends_on: # wordpress服务启动时依赖db服务,所以会自动先启动db服务
– db
image: wordpress:latest # 使用镜像 wordpress:latest最新版
ports:
– "8000:80" #端口映射8000:80
restart: always
environment: # 环境
WORDPRESS_DB_HOST: db:3306 # wordpress连接db的3306端口
WORDPRESS_DB_USER: wordpress # wordpress的数据库用户为wordpress
WORDPRESS_DB_PASSWORD: wordpress # wordpress的数据库密码是wordpress
WORDPRESS_DB_NAME: wordpress # wordpress的数据库名字是wordpress
volumes:
db_data: {}
说明:
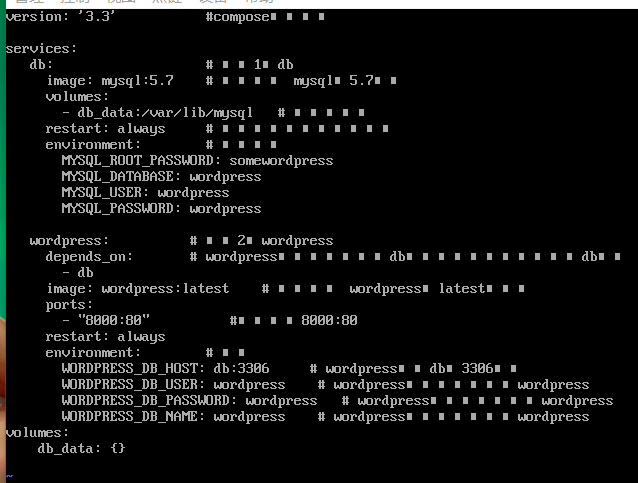
可以看到上面的docker-compose.yml文件中第一行为version:'3.3',这个是compose文件的版本,它是与docker引擎的版本相对应的,并且向下兼容。
2.启动项目
注意:大部分的compose命令都需要到docker-compose.yml文件所在的目录下才能执行。
前台启动项目: docker-compose up
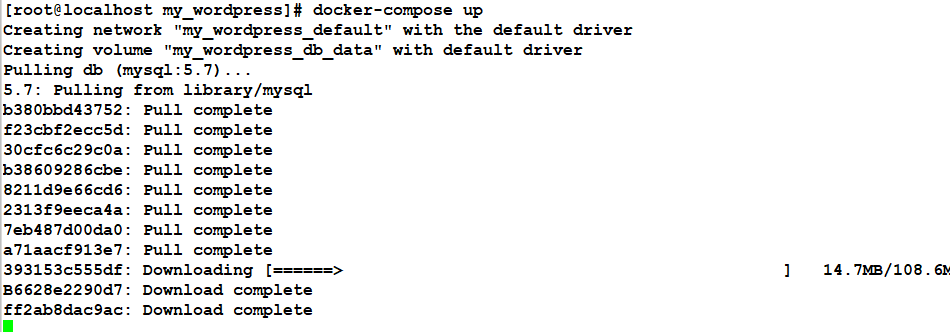
 后台执行该服务可以加上 -d 参数: docker-compose up -d
指定yml文件启动:docker-compose -f 【yml文件绝对路径】 up / -d
[root@localhost my_wordpress]# docker-compose up -d # 后台运行项目
Creating network "my_wordpress_default" with the default driver
—–》# 为wordpress项目创建my_wordpress_default网络
Creating volume "my_wordpress_db_data" with default driver
Pulling db (mysql:5.7)…
5.7: Pulling from library/mysql
6ec7b7d162b2: Downloading [======================================> ] 20.64MB/27.1MB
fedd960d3481: Download complete
7ab947313861: Download complete
64f92f19e638: Downloading [=============================================> ] 1.278MB/1.419MB
3e80b17bff96: Download complete
014e976799f9: Waiting
59ae84fee1b3: Waiting
7d1da2a18e2e: Waiting
301a28b700b9: Waiting
529dc8dbeaf3: Waiting
bc9d021dc13f: Waiting
529dc8dbeaf3: Pull complete
bc9d021dc13f: Pull complete
Digest: sha256:c3a567d3e3ad8b05dfce401ed08f0f6bf3f3b64cc17694979d5f2e5d78e10173
Status: Downloaded newer image for mysql:5.7
Pulling wordpress (wordpress:latest)…
latest: Pulling from library/wordpress
db_1 | 2021-01-09T03:56:16.548648Z 0 [Warning] Insecure configuration for –pid-file: Location '/var/run/mysqld' in the path is accessible to all OS users. Consider choosing a different directory.
db_1 | 2021-01-09T03:56:16.555145Z 0 [Note] Event Scheduler: Loaded 0 events
db_1 | 2021-01-09T03:56:16.555312Z 0 [Note] mysqld: ready for connections.
db_1 | Version: '5.7.32' socket: '/var/run/mysqld/mysqld.sock' port: 3306 MySQL Community Server (GPL)
wordpress_1 | AH00558: apache2: Could not reliably determine the server's fully qualified domain name, using 172.19.0.3. Set the 'ServerName' directive globally to suppress this message
wordpress_1 | AH00558: apache2: Could not reliably determine the server's fully qualified domain name, using 172.19.0.3. Set the 'ServerName' directive globally to suppress this message
wordpress_1 | [Sat Jan 09 03:56:16.984658 2021] [mpm_prefork:notice] [pid 1] AH00163: Apache/2.4.38 (Debian) PHP/7.4.14 configured — resuming normal operations
wordpress_1 | [Sat Jan 09 03:56:16.984711 2021] [core:notice] [pid 1] AH00094: Command line: 'apache2 -D FOREGROUND'
Docker网络(重要)
可以看到在使用docker-compose管理项目的时候,docker-compose会自动给我们创建一个项目网络,这是docker-compose的网络默认规则,创建的项目网络可以方便我们管理维护项目,同一个项目的所有服务可以直接互相通过服务名访问!!!
这样的一个好处是:开发不需要在配置中写死某个服务的IP地址,只需要写服务名即可,当该服务异常挂掉,同一个服务重启后IP可能会不同,如果写死的话就得去更改,很麻烦。所以这就是docker-compose默认创建网络提供的便利性。
[root@localhost ~]# docker network ls
NETWORK ID NAME DRIVER SCOPE
eb2d2ed62e6d bridge bridge local
40a2cdab761b host host local
addc87976b45 my_wordpress_default bridge local #项目网络
446393a43e7b none null local

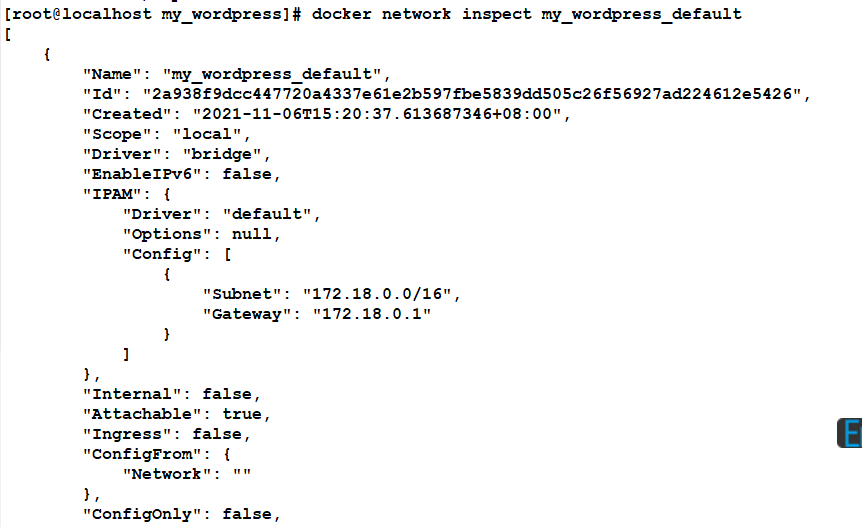
[root@localhost ~]# docker network inspect my_wordpress_default #查看项目网络详情
[
{
"Name": "my_wordpress_default",
"Id": "addc87976b4535cdb24c84a00afc9744b5951a520e7230bc8ef76189ea06bf05",
"Created": "2021-01-09T11:55:20.242710185+08:00",
"Scope": "local",
"Driver": "bridge",
"EnableIPv6": false,
"IPAM": {
"Driver": "default",
"Options": null,
"Config": [
{
"Subnet": "172.19.0.0/16",
"Gateway": "172.19.0.1"
}
]
},
"Internal": false,
"Attachable": true,
"Ingress": false,
"ConfigFrom": {
"Network": ""
},
"ConfigOnly": false,
"Containers": {
"c95da3fa0f6c42a564d99b35f70e5c51c5a1163ab53b9a6ae305f98d6b2b6f9f": {
"Name": "my_wordpress_db_1",
"EndpointID": "e1a66aec2e36fb74d0d75af69ff6c74c20c06508bfe2d8c34384d45062007c25",
"MacAddress": "02:42:ac:13:00:02",
"IPv4Address": "172.19.0.2/16",
"IPv6Address": ""
},
"cccd067d18e46beb27a345721148569464ad618c1cfd99357fe4b80d75e7ff27": {
"Name": "my_wordpress_wordpress_1",
"EndpointID": "f238817ce5358d7b57a1668ea9ddda40c88a227c2c1d762fa553e38fd22d7e2b",
"MacAddress": "02:42:ac:13:00:03",
"IPv4Address": "172.19.0.3/16",
"IPv6Address": ""
}
},
"Options": {},
"Labels": {
"com.docker.compose.network": "default",
"com.docker.compose.project": "my_wordpress",
"com.docker.compose.version": "1.25.5"
}
}
]
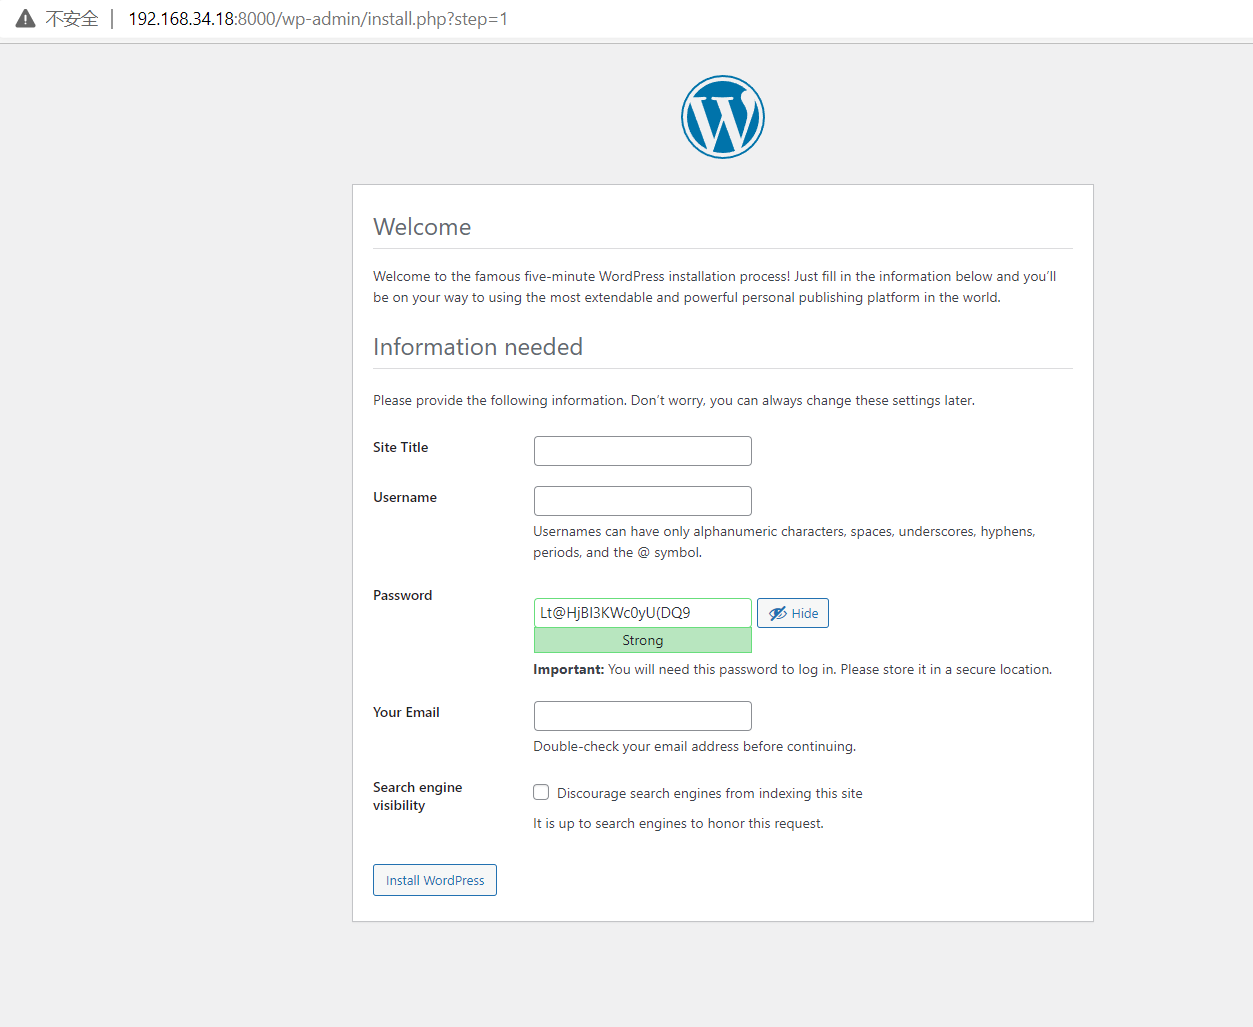
运行(记得关闭虚拟机和物理机的防火墙)
原文链接:https://blog.csdn.net/Yo_ol/article/details/121457103?ops_request_misc=%257B%2522request%255Fid%2522%253A%2522168623078216800226541510%2522%252C%2522scm%2522%253A%252220140713.130102334.pc%255Fblog.%2522%257D&request_id=168623078216800226541510&biz_id=0&utm_medium=distribute.pc_search_result.none-task-blog-2~blog~first_rank_ecpm_v1~times_rank-27-121457103-null-null.268%5Ev1%5Ekoosearch&utm_term=docker%E3%80%81wordpress%E3%80%81wordpress%E5%BB%BA%E7%AB%99%E3%80%81wordpress%E4%B8%BB%E9%A2%98%E3%80%81%E5%AE%B9%E5%99%A8%E9%95%9C%E5%83%8F%E3%80%81


