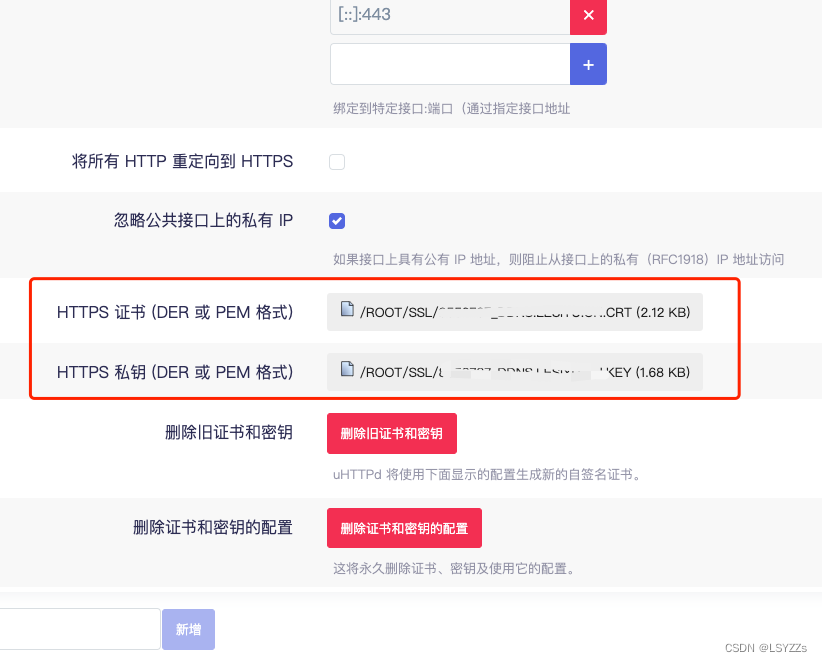
参考:【Centos】certbot+tomcat配置https访问
SSL证书不便宜,幸亏有Let's encrypt, 于是自行操作了一把,并配置Apache反向代理到Tomcat,过程如下:
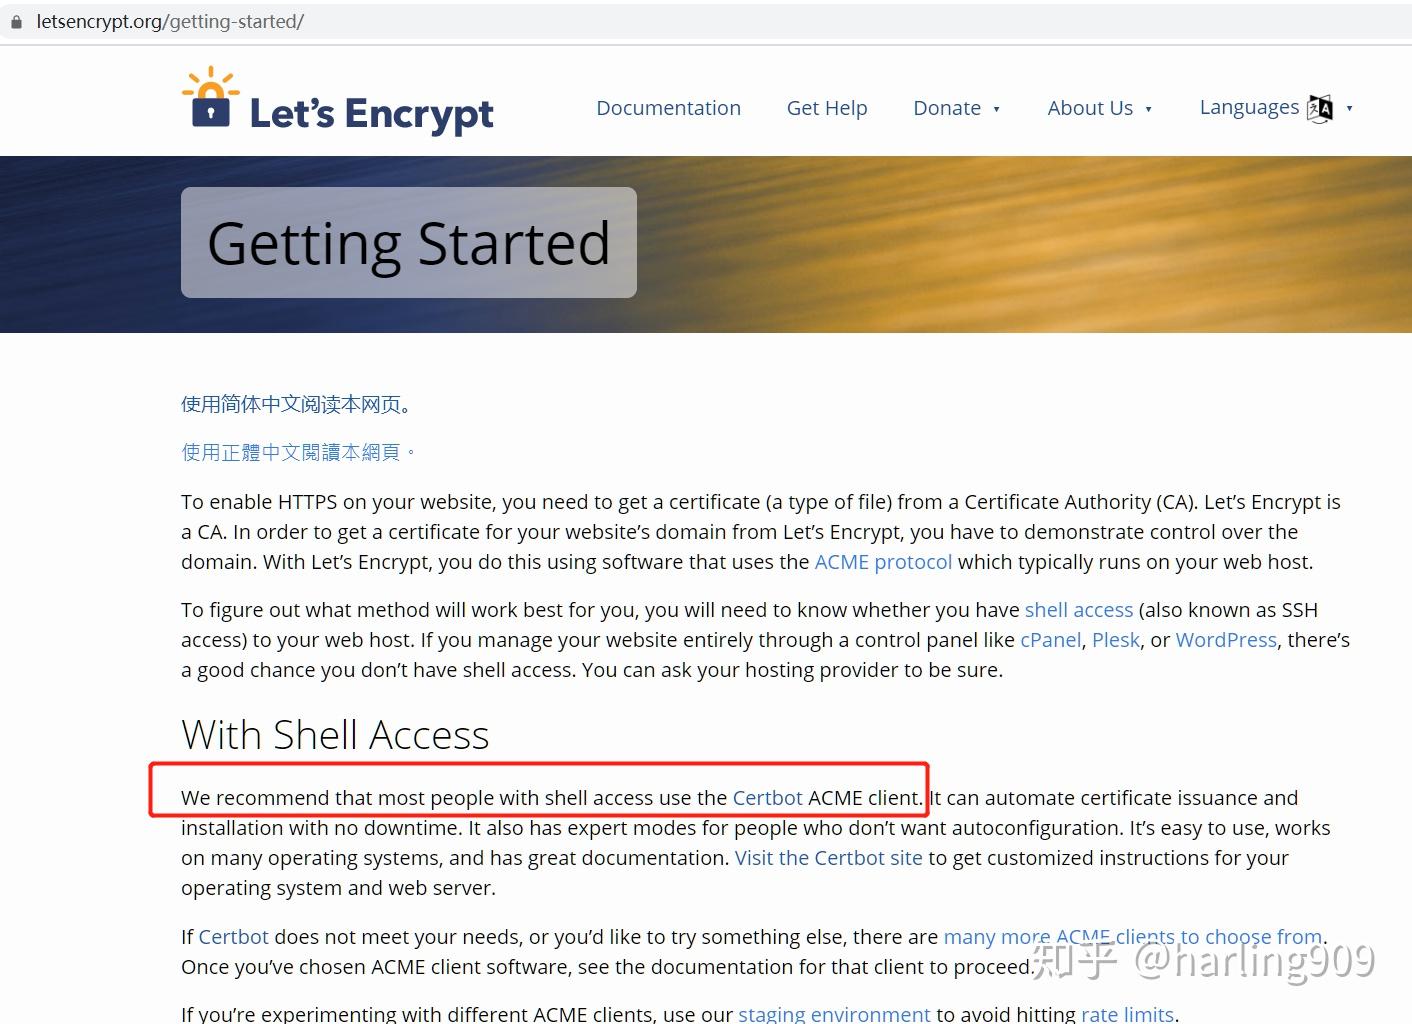
- 根据官网的建议,使用Cerbot ACME客户端
- 环境CentOS7:(查看命令:rpm -q centos-release)
- 安装运行:
wget https://dl.eff.org/certbot-auto chmod a+x certbot-auto ./certbot-auto certonly --standalone --email xxx@outlook.com -d www.xxxx.com- 查看安装结果:
vim /var/log/letsencrypt/letsencrypt.log cd /etc/letsencrypt/live/www.xxx.com- 复制证书
cp privkey.pem /usr/local/tomcat/conf/letsencrypt cp fullchain.pem /usr/local/tomcat/conf/letsencrypt- 生成证书文件
#进入到tomcat配置目录 cd /usr/local/tomcat/conf/letsencrypt/ openssl pkcs12 -export -in fullchain.pem -inkey privkey.pem -out fullchain_and_key.p12 -name tomcat #这里会被要求设置密码,暂定:changeit keytool -importkeystore -deststorepass 'changeit' -destkeypass 'changeit' -destkeystore yourserver.jks -srckeystore fullchain_and_key.p12 -srcstoretype PKCS12 -srcstorepass 'changeit' -alias tomcat- 配置Tomcat的 server.xml
<Connector port="8080" protocol="HTTP/1.1" connectionTimeout="20000" redirectPort="6080" ></Connector> <Connector port="6080" protocol="HTTP/1.1" SSLEnabled="true" maxThreads="150" scheme="https" secure="true" keystoreFile="/usr/local/tomcat/conf/letsencrypt/yourserver.jks" keystorePass="changeit" clientAuth="false" sslProtocol="TLS" ></Connector> #保存后启动 cd ../bin ./starup.sh- 配置Apache
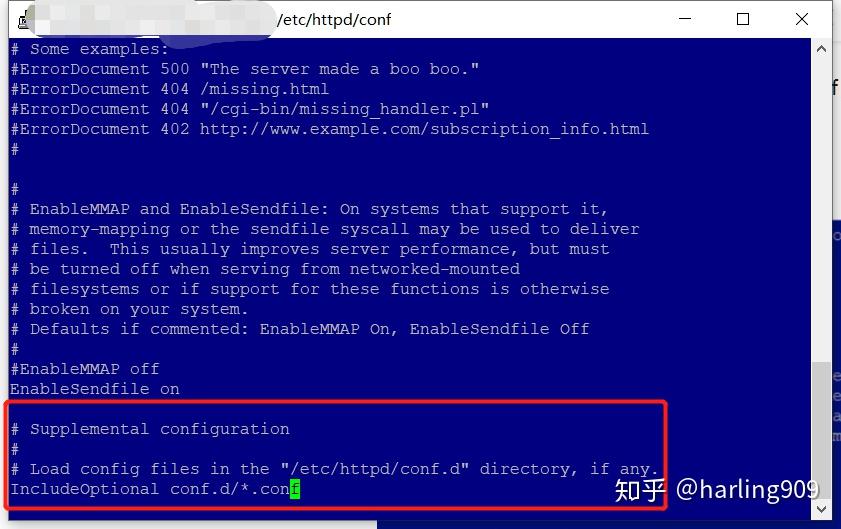
httpd.conf配置了自动扫描conf.d目录下的所有 *.conf,因此到conf.d目录下自建一个.conf
cd /etc/httpd/conf.d vi yourserver.conf #复制如下配置,更新 yourwebapp至对应的名称: <VirtualHost *:80> #ServerAdmin test@test.com #ServerName www.xxx.com #ErrorLog logs/dummy-host.example.com-error_log #CustomLog logs/dummy-host.example.com-access_log common ProxyRequests Off ProxyPreserveHost On <Proxy /> Order deny,allow Allow from all </Proxy> ProxyPass / http://127.0.0.1:8080/yourwebapp/ ProxyPassReverse / http://127.0.0.1:8080/yourwebapp/ </VirtualHost> <VirtualHost *:443> #ServerName www.xxx.com #ServerAlias www.xxx.com SSLEngine on SSLProxyEngine On SSLProxyVerify none SSLCertificateFile "/etc/letsencrypt/live/www.xxx.com/cert.pem" SSLCertificateKeyFile "/etc/letsencrypt/live/www.xxx.com/privkey.pem" SSLCertificateChainFile "/etc/letsencrypt/live/www.xxx.com/chain.pem" <Proxy *> Order deny,allow Allow from all </Proxy> ProxyPreserveHost On ProxyRequests Off ProxyPass / https://127.0.0.1:6080/yourwebapp/ ProxyPassReverse / https://127.0.0.1:6080/yourwebapp/ </VirtualHost> #保存退出 #重启Apache systemctl start httpd.service #Apache开机自启动 systemctl enable httpd.service 由于Let's Encrypt证书有效期只有3个月,因此需要更新,更新步骤如下:
- 关闭web服务
#查看SSL证书的过期时间 ./certbot-auto certificates #强制更新 ./certbot-auto renew --force-renew- 重新复制并生成证书文件
- 亦可配置自动更新(待补充…)
3个月到了,于是又去续证书,突然发现这个情况
./certbot-auto certificates Upgrading certbot-auto 1.4.0 to 1.7.0... Couldn't download https://raw.githubusercontent.com/certbot/certbot/v1.7.0/letsencrypt-auto-source/letsencrypt-auto. <urlopen error [Errno 111] Connection refused>到官网去看资料,采用如下方法解决:
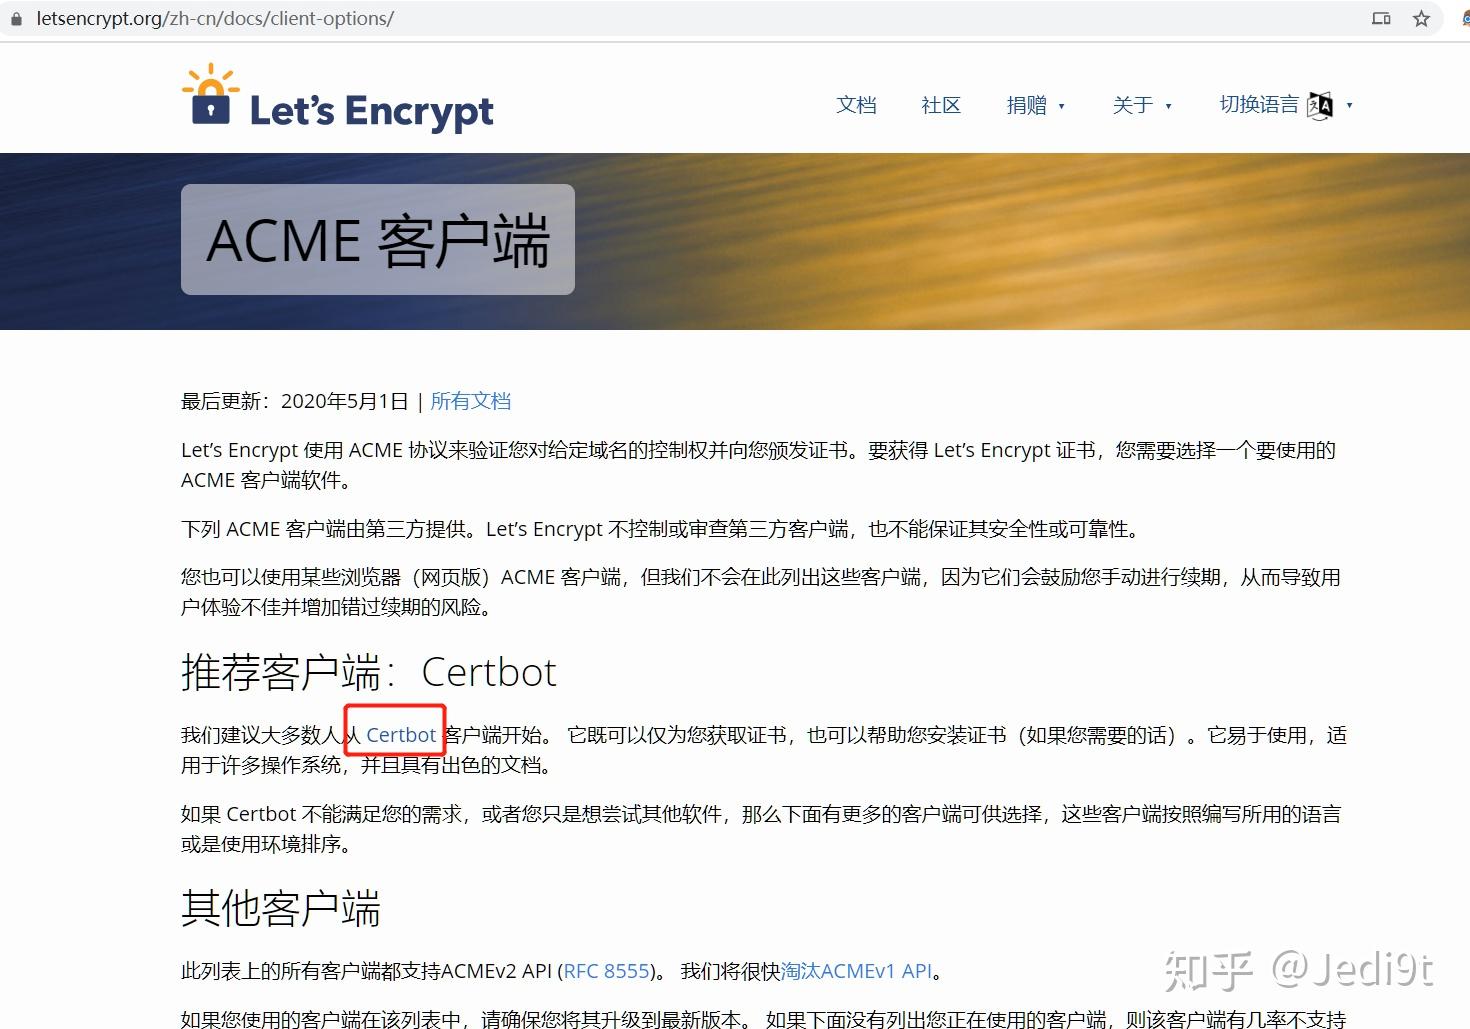
选择操作系统和服务器软件之后,按步骤操作:
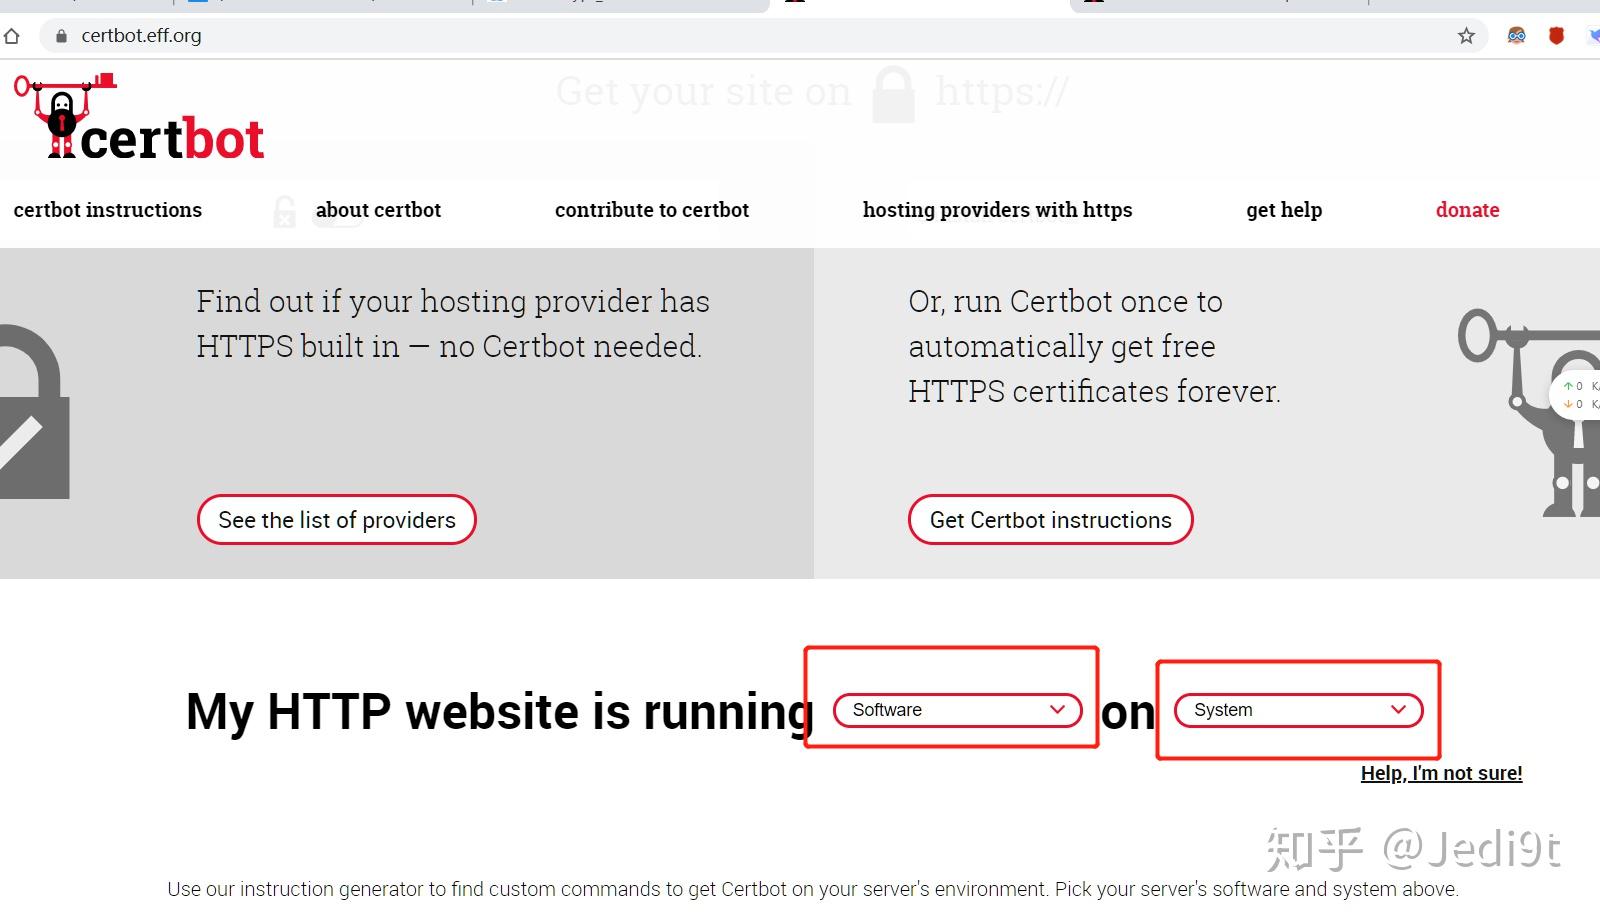
#Enable EPEL: yum install https://dl.fedoraproject.org/pub/epel/epel-release-latest-7.noarch.rpm #重装Certbot sudo yum install certbot python2-certbot-apache #自动配置 # sudo certbot --apache #手动配置,建议使用此选项 sudo certbot certonly --apache #会提示输入域名,如已经安装则自动续期 #询问服务器配置文件如有更新Tomcat的需要,请参阅本文之前的介绍。
顺手做了下自动更新配置,过两天检查一下:
echo "0 0,12 * * * root python -c 'import random; import time; time.sleep(random.random() * 3600)' && certbot renew -q" | sudo tee -a /etc/crontab > /dev/null原文链接:https://zhuanlan.zhihu.com/p/141831734
© 版权声明
声明📢本站内容均来自互联网,归原创作者所有,如有侵权必删除。
本站文章皆由CC-4.0协议发布,如无来源则为原创,转载请注明出处。
THE END


