目录
一、nginx完全卸载(可跳过)
如果你之前安装过nginx,个人建议先走一下nginx卸载流程,如果没有可以直接跳过。我这里直接用的是root用户,如果是普通用户需要在最开始加上 sudo
apt-get remove nginx nginx-common apt-get purge nginx nginx-common apt-get autoremove apt-get remove nginx-full nginx-common 二、nginx安装
安装过程很简单,第一步,更新源列表
apt-get update第二步,安装nginx
apt-get install nginx第三步,检查nginx是否安装成功。如果出现版本号说明安装成功。
nginx -v三、nginx的配置文件
nginx的配置文件和静态资源文件分布在不同的地方,这里需要注意。
- /usr/sbin/nginx:主程序
- /etc/nginx:存放配置文件(nginx.conf)
- /usr/share/nginx:存放静态文件
- /var/log/nginx:存放日志
四、配置nginx
现在要修改配置文件,在 /etc/nginx目录下有个 nginx.conf,我们需要修改的就是这个文件。在修改文件之前,我们需要做一些准备工作。
1、配置监听端口号、访问IP、代理跨域
nginx.conf配置文件中并没有 配置端口号和IP,这个我们需要自己手动添加,为了便于修改,我们将vue项目的配置放在其他地方文件里,在nginx.conf 只需要将vue项目的配置文件所在路径引入即可。
我打算把vue项目的配置文件放在 /etc/nginx/hosts 目录下。第一步,新建host目录
cd /etc/nginx #切换到/etc/nginx路径下 mkdir hosts #新建目录host 第二步,新建 server0.host 文件。名字和后缀可以自己命名。这个文件就可以保存当前vue项目的相关配置。
touch server0.host第三步,加入端口号和IP相关配置,然后将下面提供的配置模板拷贝进去
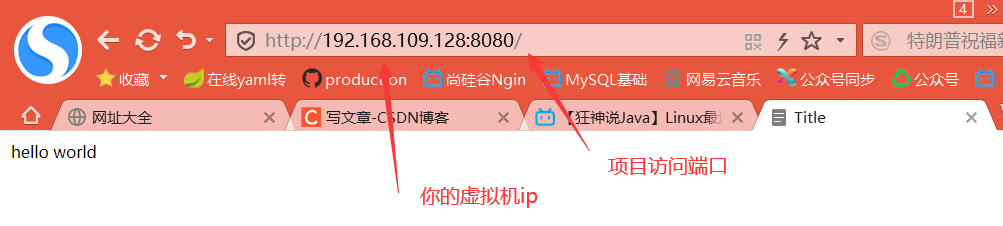
vim server0.host #编辑server0.host server { listen 8080; #自己设置端口号 server_name xxx.xxx.xxx.xxx; #自己设置ip地址 #access_log logs/host.access.log main; location / { root /usr/share/nginx/dist; #这里写vue项目打包好的dist文件的地址 index index.html; #这里是vue项目的首页,需要保证dist中有index.html文件 try_files $uri $uri/ @router; } location @router { rewrite ^.*$ /index.html last; //解决重新刷新页面,页面空白的问题 } location /api/ { proxy_pass http://xxx.xxx.xxx.xxx:9090/; //9090是后端端口 } error_page 500 502 503 504 /50x.html;#错误页面 } 2、引入vue项目配置文件的路径
准备工作做好以后,下面就需要在nginx的配置文件中引入 vue配置文件的路径,vue配置文件的路径设置的是 /etc/nginx/hosts/server0.host
cd /etc/nginx vim nginx.conf #编辑nginx配置文件我们只需要在nginx配置文件加入一行即可

注意:需要放在server { } 的外部,因为server里面不能再嵌套一层 server { }
五、启动nginx
启动nginx
systemctl start nginx停止nginx
systemctl stop nginx重启nginx
systemctl reload nginx查看nginx的启停状态(如果正常启动,会看到绿色的Running)
systemctl status nginx原文链接:https://blog.csdn.net/challenglistic/article/details/126403714