官方教程 下载Zabbix
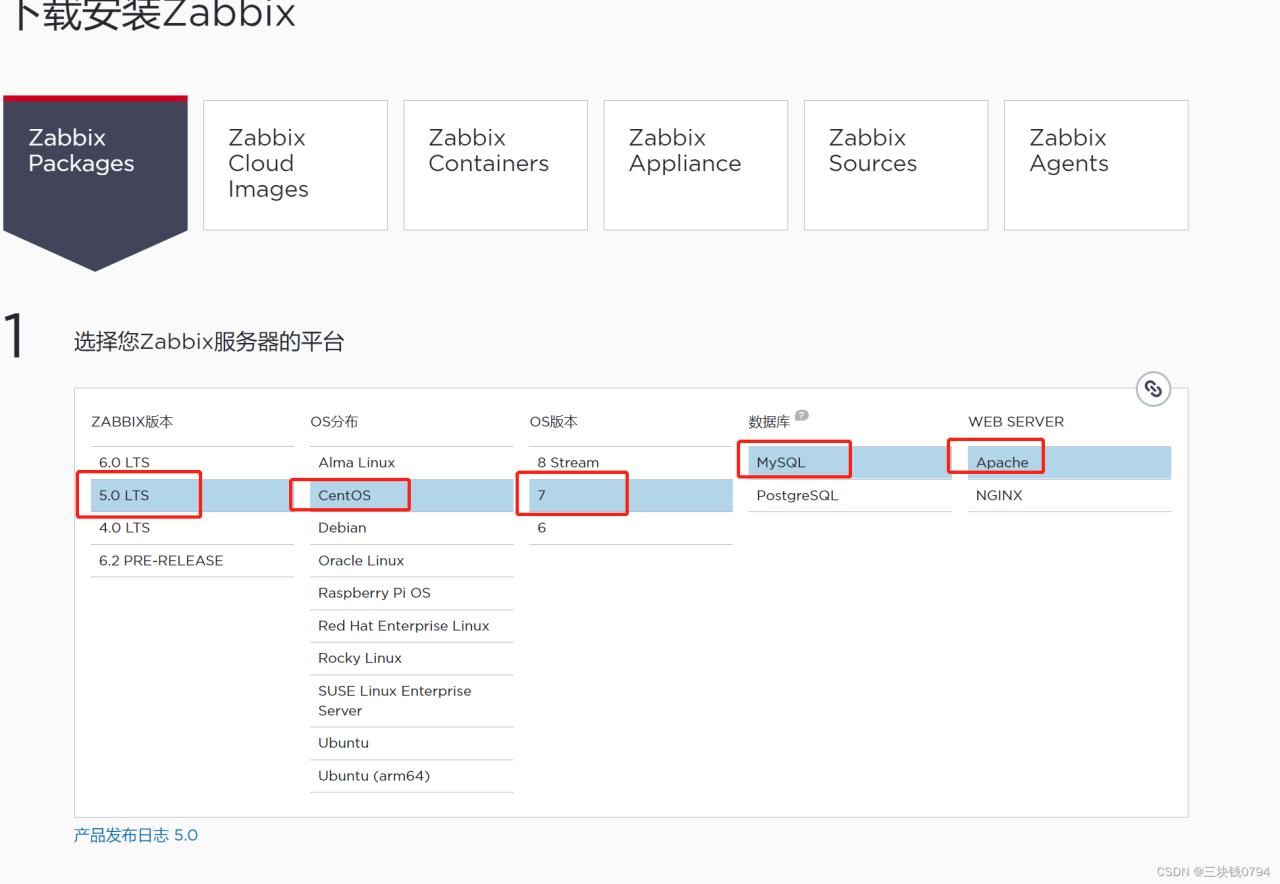
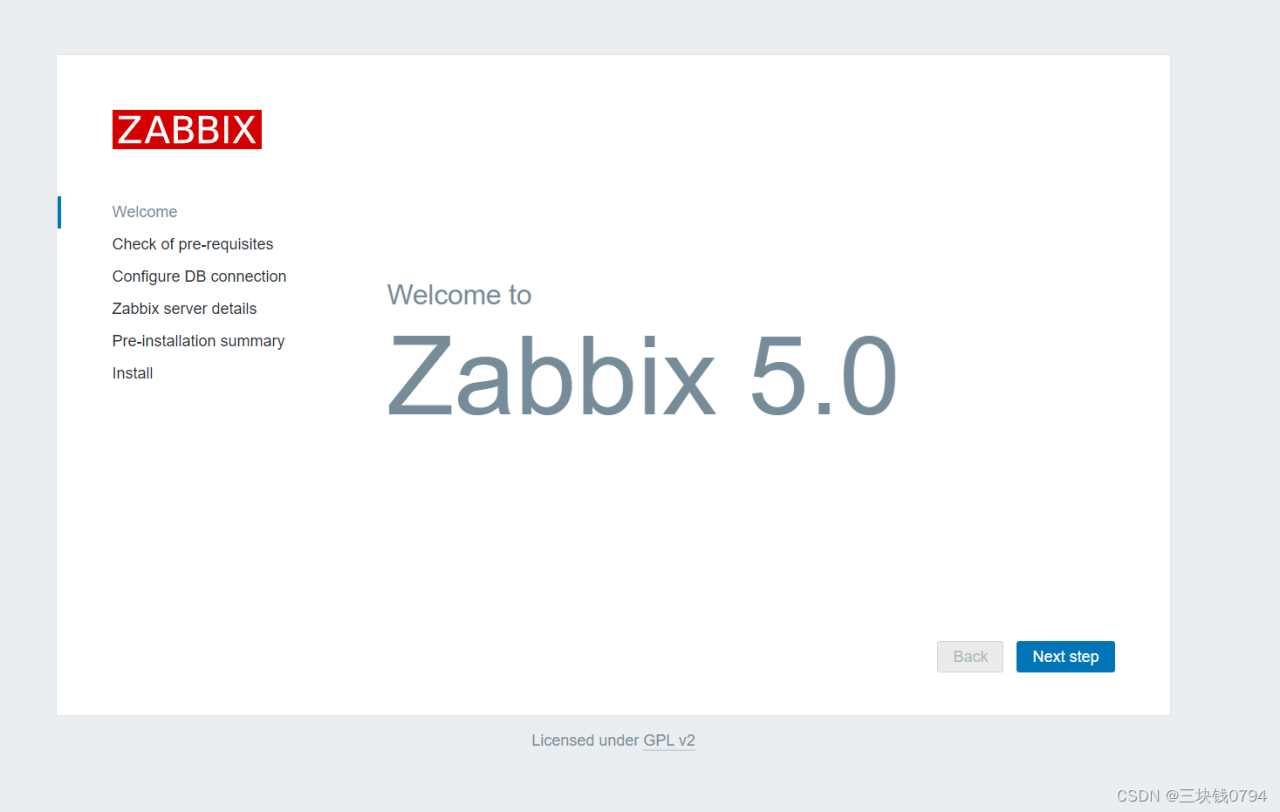
Install and configure Zabbix server for your platform a. Install Zabbix repository 产品手册 # rpm -Uvh https://repo.zabbix.com/zabbix/5.0/rhel/7/x86_64/zabbix-release-5.0-1.el7.noarch.rpm # yum clean all b. Install Zabbix server and agent # yum install zabbix-server-mysql zabbix-agent c. Install Zabbix frontend 产品手册 Enable Red Hat Software Collections # yum install centos-release-scl 编辑配置文件 /etc/yum.repos.d/zabbix.repo and enable zabbix-frontend repository. [zabbix-frontend] ... enabled=1 ... Install Zabbix frontend packages. # yum install zabbix-web-mysql-scl zabbix-apache-conf-scl d. 创建初始数据库 产品手册 Make sure you have database server up and running. 在数据库主机上运行以下代码。 # mysql -uroot -p password mysql> create database zabbix character set utf8 collate utf8_bin; mysql> create user zabbix@localhost identified by 'password'; mysql> grant all privileges on zabbix.* to zabbix@localhost; mysql> quit; 导入初始架构和数据,系统将提示您输入新创建的密码。 # zcat /usr/share/doc/zabbix-server-mysql*/create.sql.gz | mysql -uzabbix -p zabbix e. 为Zabbix server配置数据库 编辑配置文件 /etc/zabbix/zabbix_server.conf DBPassword=password f. 为Zabbix前端配置PHP 编辑配置文件 /etc/opt/rh/rh-php72/php-fpm.d/zabbix.conf, uncomment and set the right timezone for you. ; php_value[date.timezone] = Europe/Riga g. 启动Zabbix server和agent进程 启动Zabbix server和agent进程,并为它们设置开机自启: # systemctl restart zabbix-server zabbix-agent httpd rh-php72-php-fpm # systemctl enable zabbix-server zabbix-agent httpd rh-php72-php-fpm h. 配置Zabbix前端 连接到新安装的Zabbix前端: http://server_ip_or_name/zabbix 根据Zabbix文件里步骤操作: Installing frontendInstall and configure Zabbix server for your platform a. Install Zabbix repository 产品手册 # rpm -Uvh https://repo.zabbix.com/zabbix/5.0/rhel/7/x86_64/zabbix-release-5.0-1.el7.noarch.rpm # yum clean all b. Install Zabbix server and agent # yum install zabbix-server-mysql zabbix-agent c. Install Zabbix frontend 产品手册 Enable Red Hat Software Collections # yum install centos-release-scl 编辑配置文件 /etc/yum.repos.d/zabbix.repo and enable zabbix-frontend repository. [zabbix-frontend] ... enabled=1 ... Install Zabbix frontend packages. # yum install zabbix-web-mysql-scl zabbix-apache-conf-scl d. 创建初始数据库 产品手册 Make sure you have database server up and running. 在数据库主机上运行以下代码。 # mysql -uroot -p password mysql> create database zabbix character set utf8 collate utf8_bin; mysql> create user zabbix@localhost identified by 'password'; mysql> grant all privileges on zabbix.* to zabbix@localhost; mysql> quit; 导入初始架构和数据,系统将提示您输入新创建的密码。 # zcat /usr/share/doc/zabbix-server-mysql*/create.sql.gz | mysql -uzabbix -p zabbix e. 为Zabbix server配置数据库 编辑配置文件 /etc/zabbix/zabbix_server.conf DBPassword=password f. 为Zabbix前端配置PHP 编辑配置文件 /etc/opt/rh/rh-php72/php-fpm.d/zabbix.conf, uncomment and set the right timezone for you. ; php_value[date.timezone] = Europe/Riga g. 启动Zabbix server和agent进程 启动Zabbix server和agent进程,并为它们设置开机自启: # systemctl restart zabbix-server zabbix-agent httpd rh-php72-php-fpm # systemctl enable zabbix-server zabbix-agent httpd rh-php72-php-fpm h. 配置Zabbix前端 连接到新安装的Zabbix前端: http://server_ip_or_name/zabbix 根据Zabbix文件里步骤操作: Installing frontendInstall and configure Zabbix server for your platform a. Install Zabbix repository 产品手册 # rpm -Uvh https://repo.zabbix.com/zabbix/5.0/rhel/7/x86_64/zabbix-release-5.0-1.el7.noarch.rpm # yum clean all b. Install Zabbix server and agent # yum install zabbix-server-mysql zabbix-agent c. Install Zabbix frontend 产品手册 Enable Red Hat Software Collections # yum install centos-release-scl 编辑配置文件 /etc/yum.repos.d/zabbix.repo and enable zabbix-frontend repository. [zabbix-frontend] ... enabled=1 ... Install Zabbix frontend packages. # yum install zabbix-web-mysql-scl zabbix-apache-conf-scl d. 创建初始数据库 产品手册 Make sure you have database server up and running. 在数据库主机上运行以下代码。 # mysql -uroot -p password mysql> create database zabbix character set utf8 collate utf8_bin; mysql> create user zabbix@localhost identified by 'password'; mysql> grant all privileges on zabbix.* to zabbix@localhost; mysql> quit; 导入初始架构和数据,系统将提示您输入新创建的密码。 # zcat /usr/share/doc/zabbix-server-mysql*/create.sql.gz | mysql -uzabbix -p zabbix e. 为Zabbix server配置数据库 编辑配置文件 /etc/zabbix/zabbix_server.conf DBPassword=password f. 为Zabbix前端配置PHP 编辑配置文件 /etc/opt/rh/rh-php72/php-fpm.d/zabbix.conf, uncomment and set the right timezone for you. ; php_value[date.timezone] = Europe/Riga g. 启动Zabbix server和agent进程 启动Zabbix server和agent进程,并为它们设置开机自启: # systemctl restart zabbix-server zabbix-agent httpd rh-php72-php-fpm # systemctl enable zabbix-server zabbix-agent httpd rh-php72-php-fpm h. 配置Zabbix前端 连接到新安装的Zabbix前端: http://server_ip_or_name/zabbix 根据Zabbix文件里步骤操作: Installing frontend
安装宝塔,安装好php7.2 Apache mysql phpMyAdmin
phpMyAdmin(用来导入数据库和查看数据库,用官方教程命令下导入也是一样的)

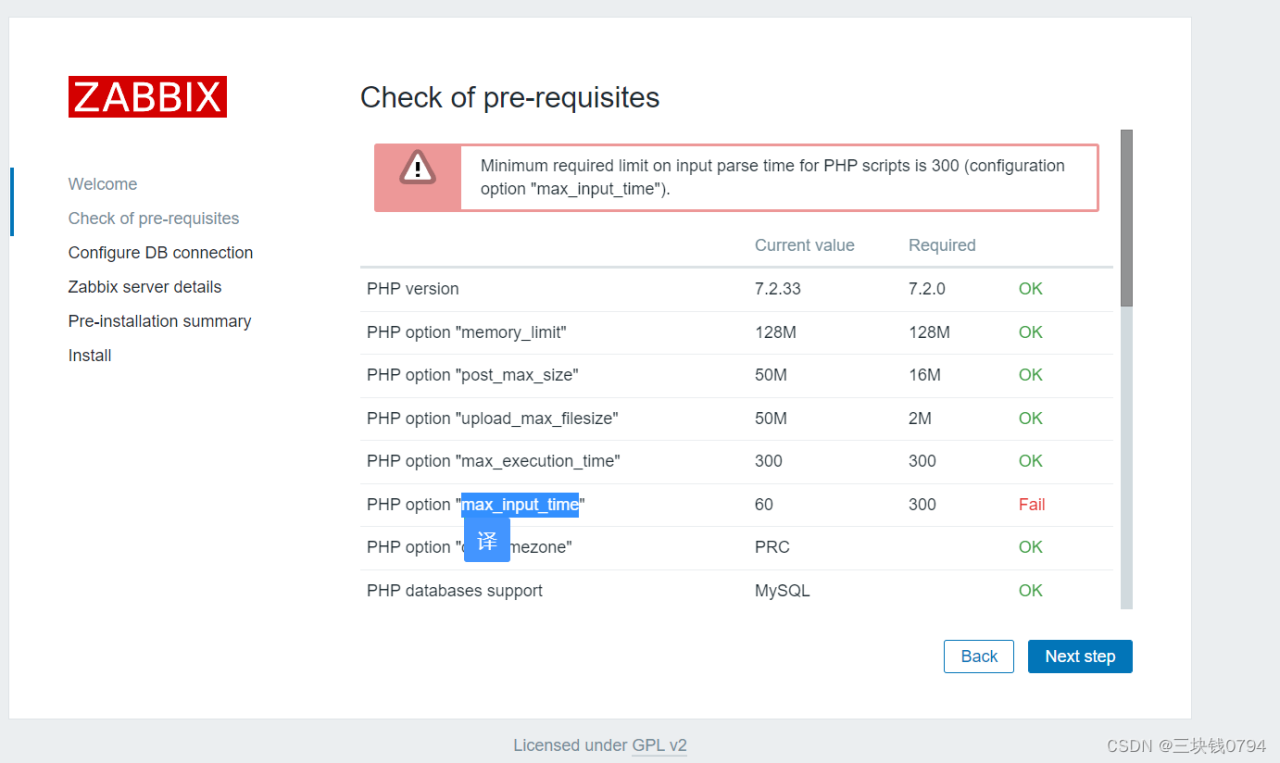
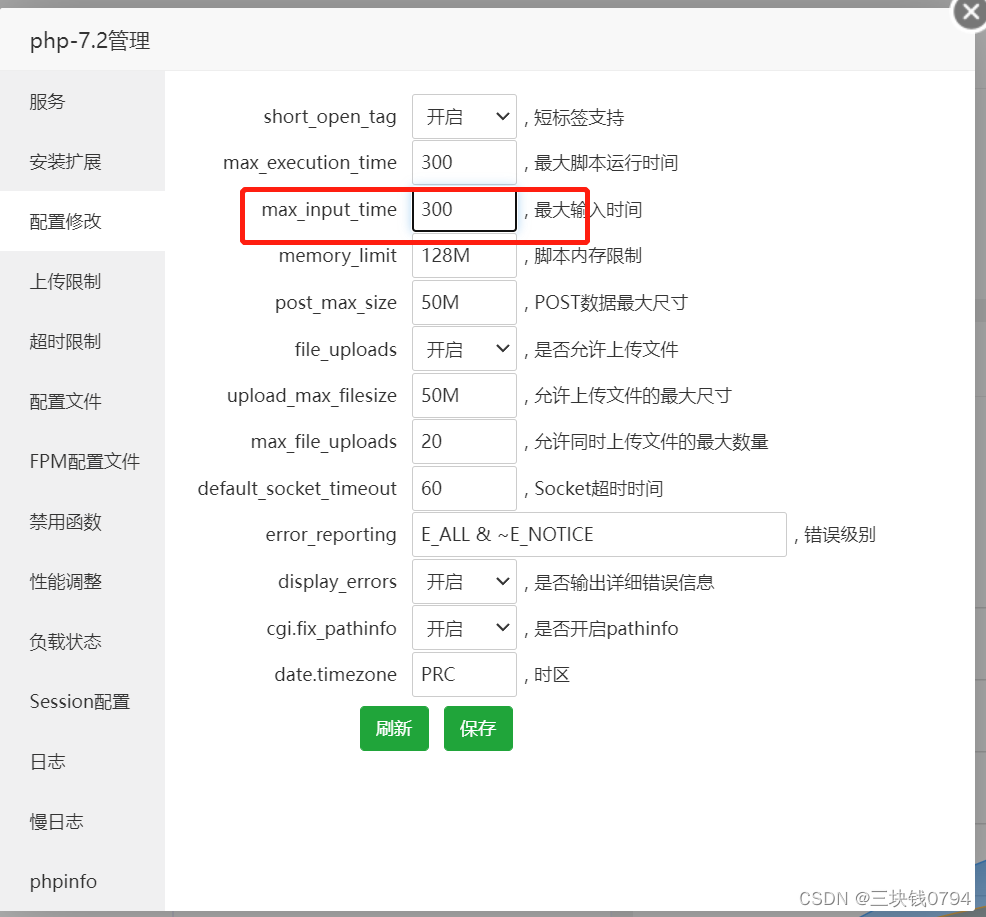
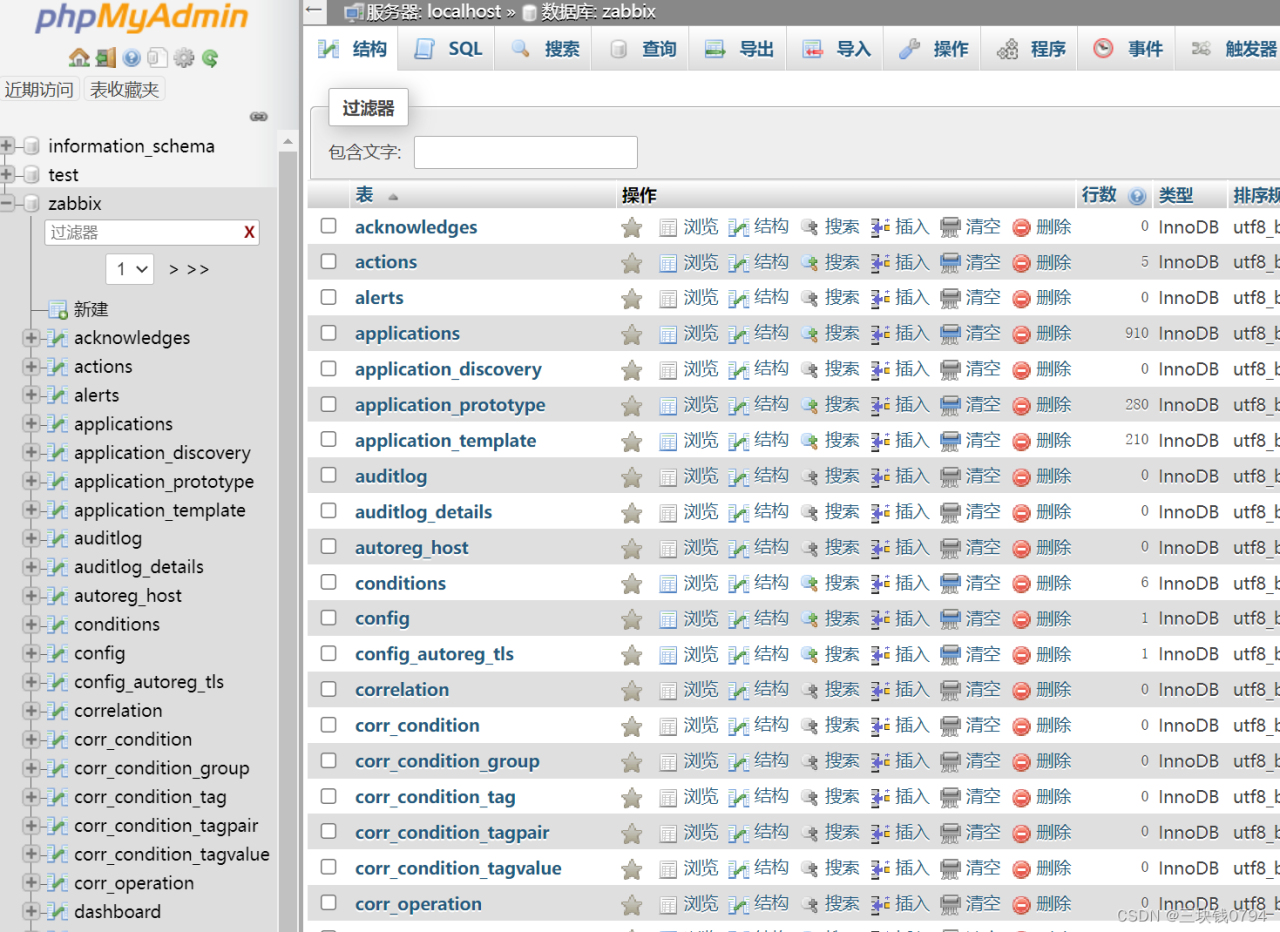
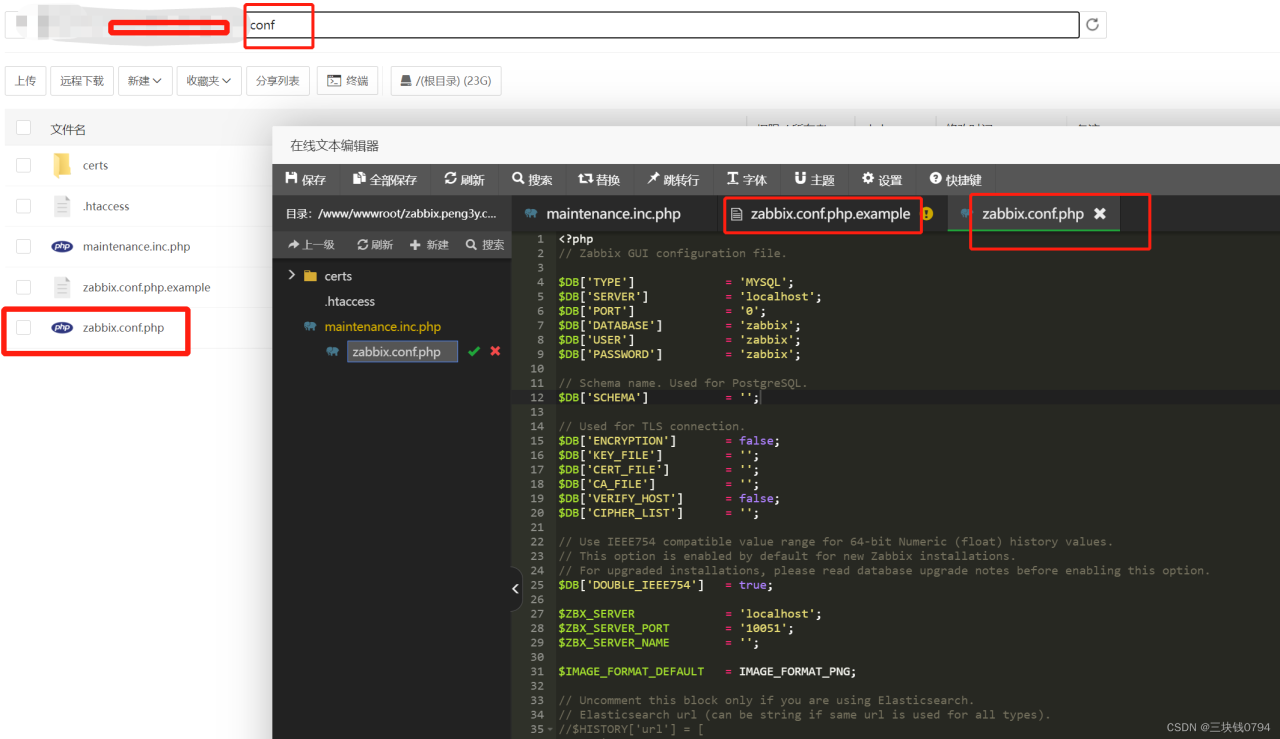
新建zabbix.conf.php 文件 ,复制zabbix.conf.php.example里面的内网进去,并修改对应的数据库信息
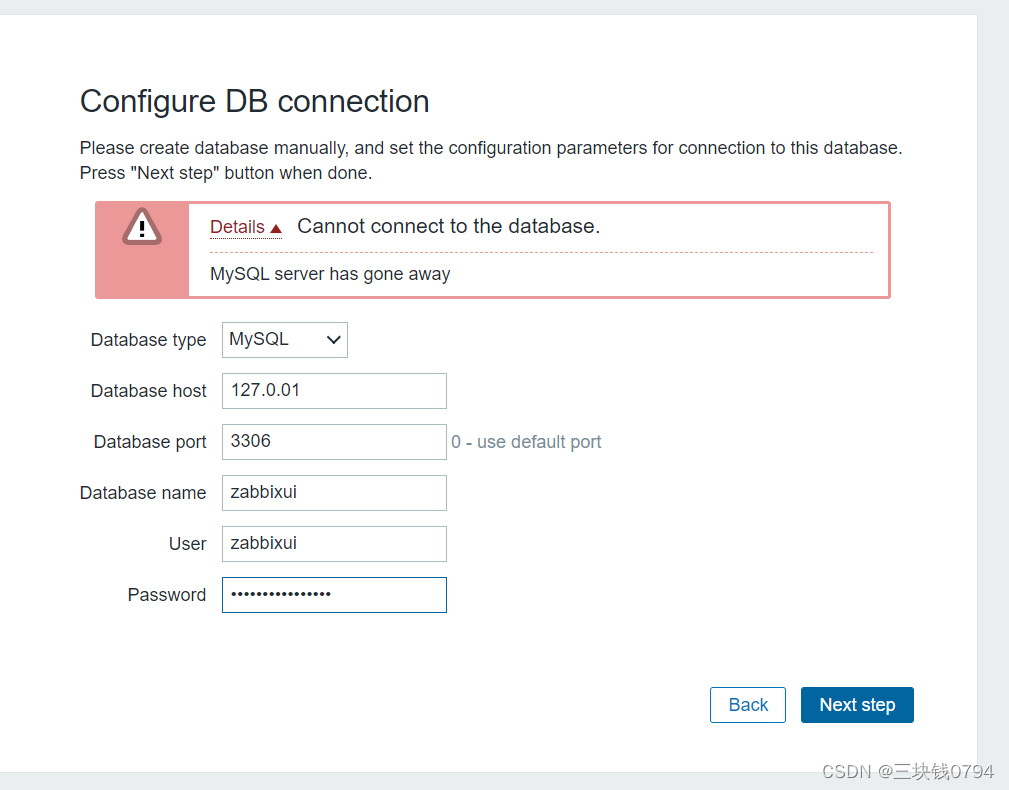
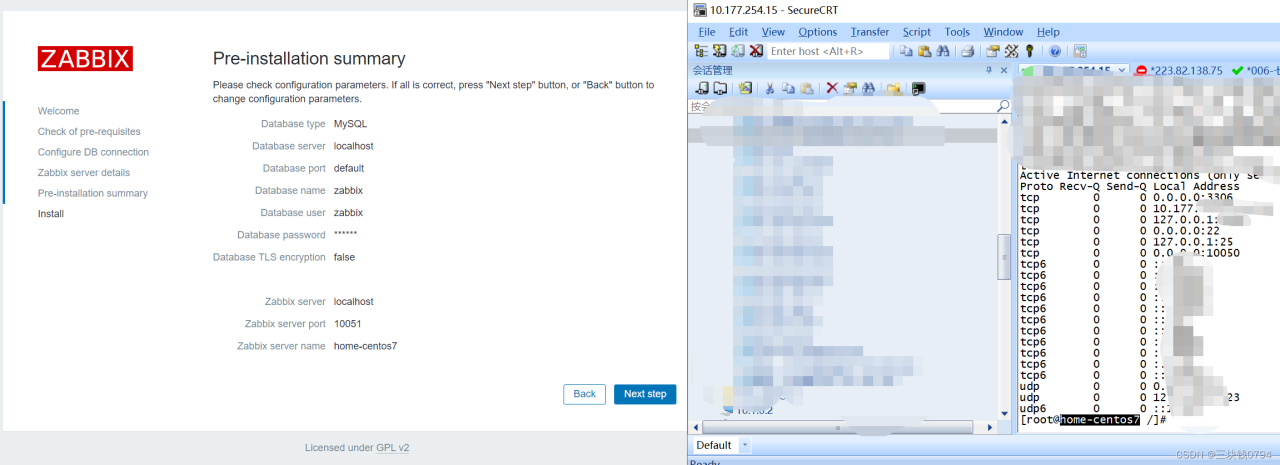
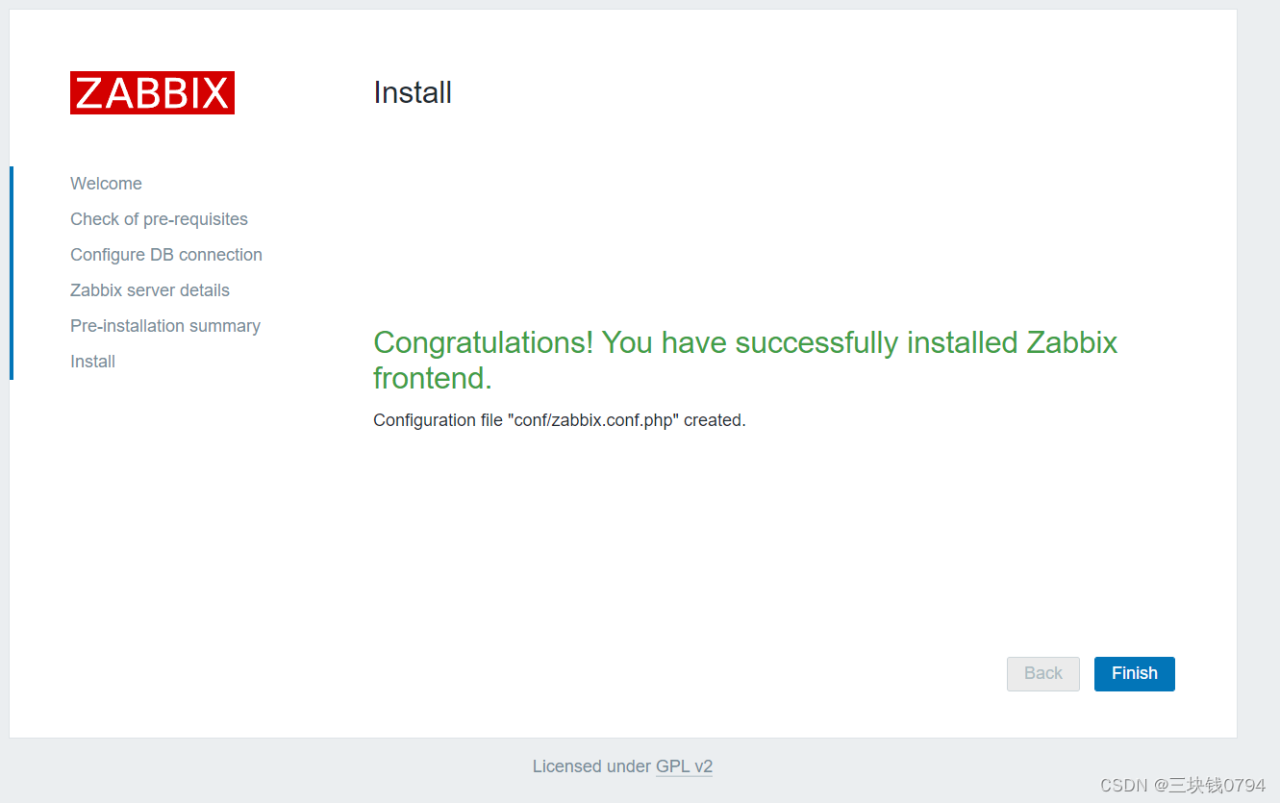
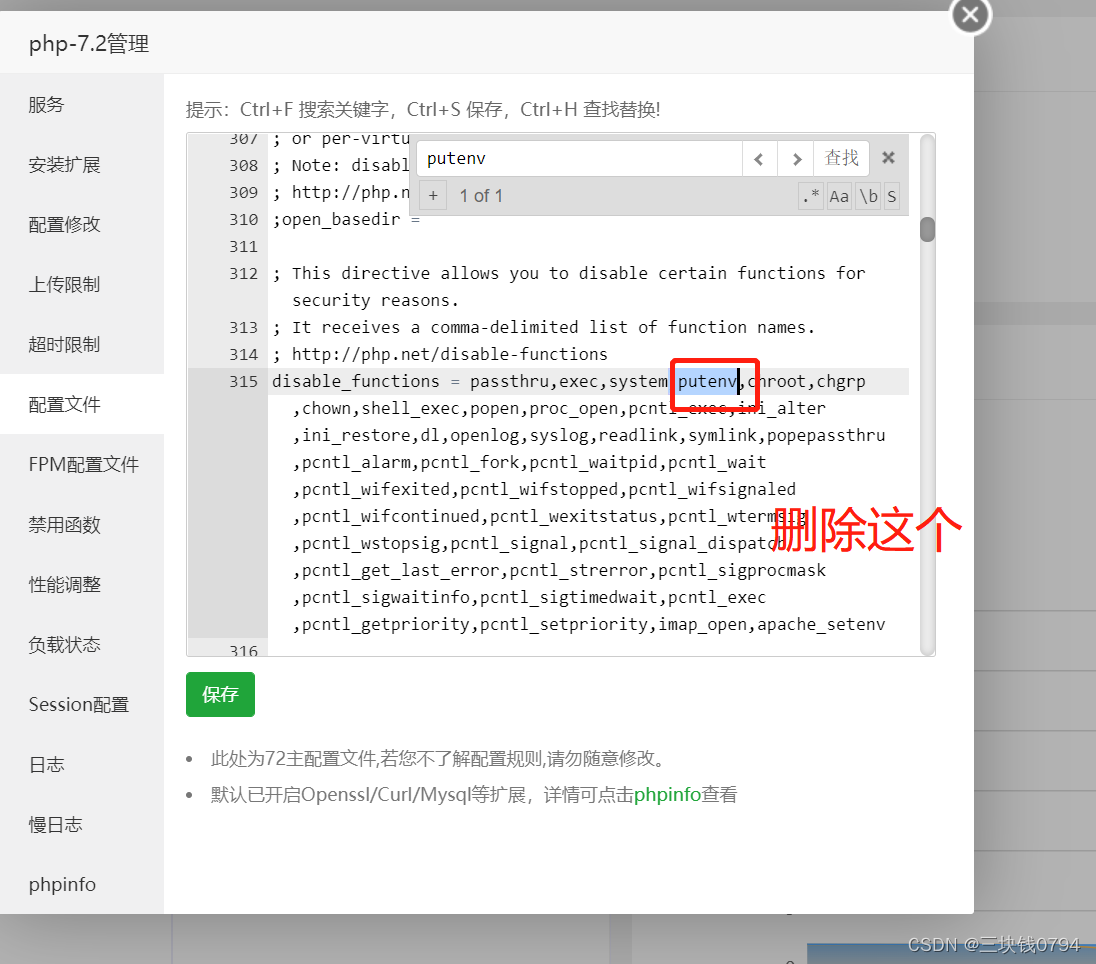
php7.2开启putenv() ,注意 如果安装了多个版本的php 其他版本的也要关了
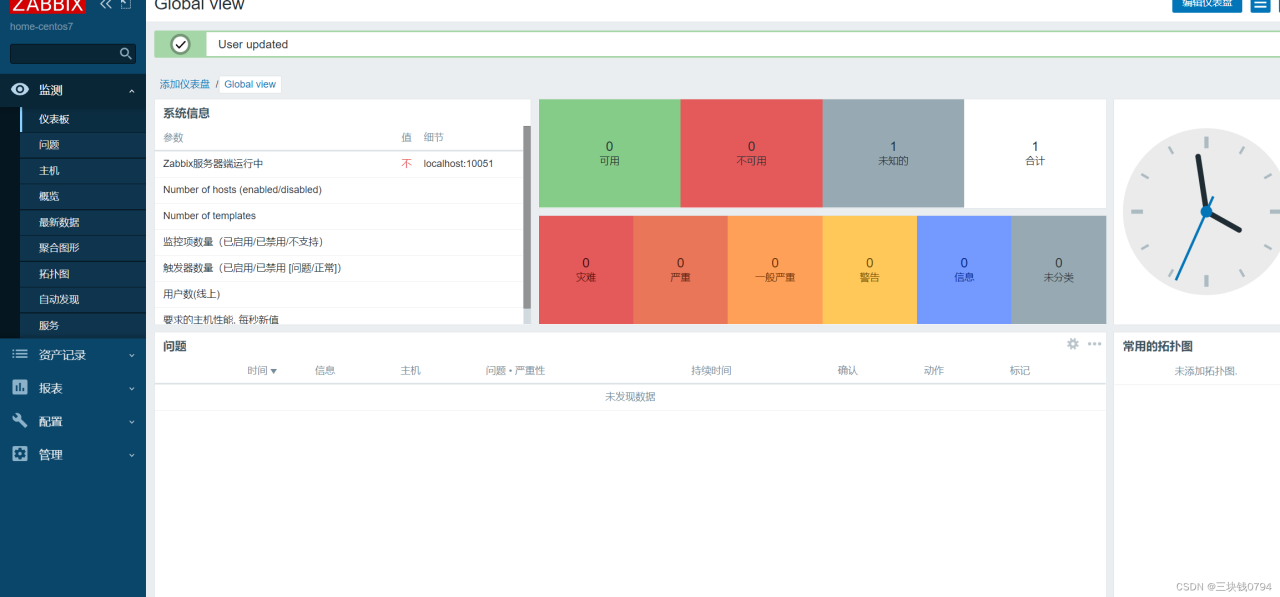
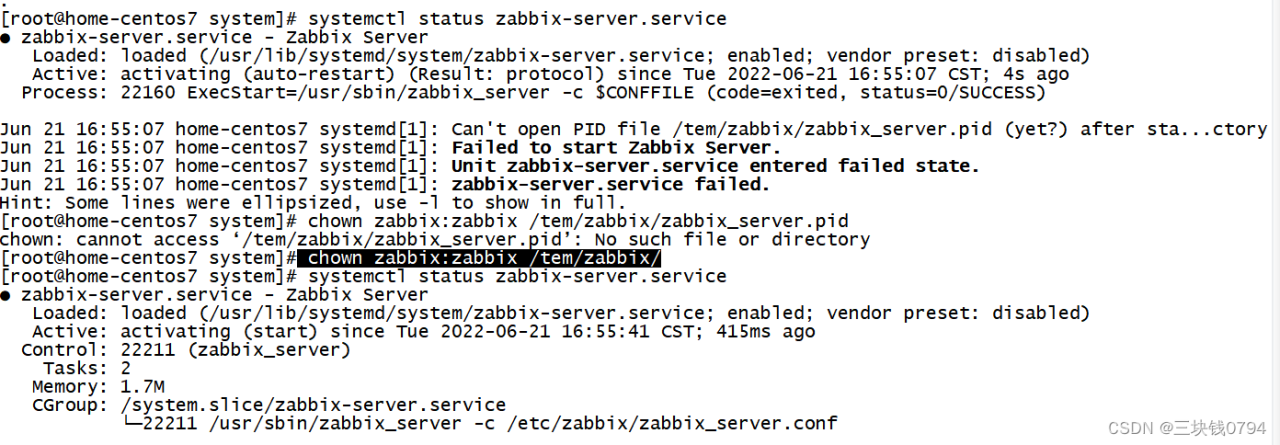
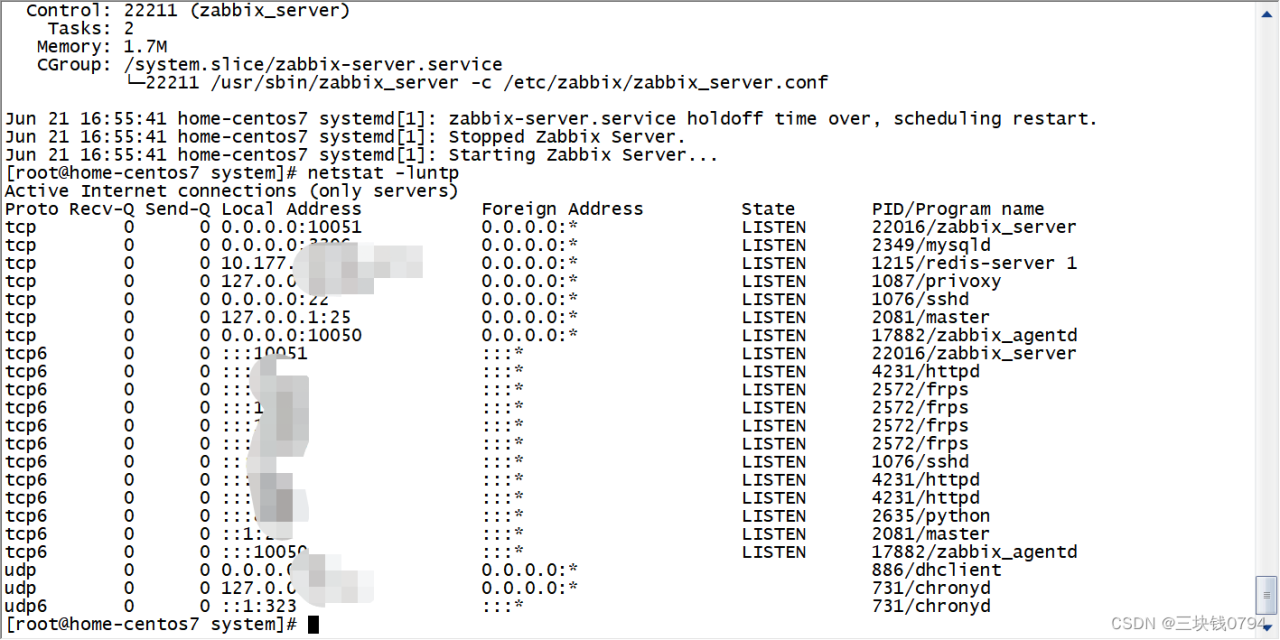
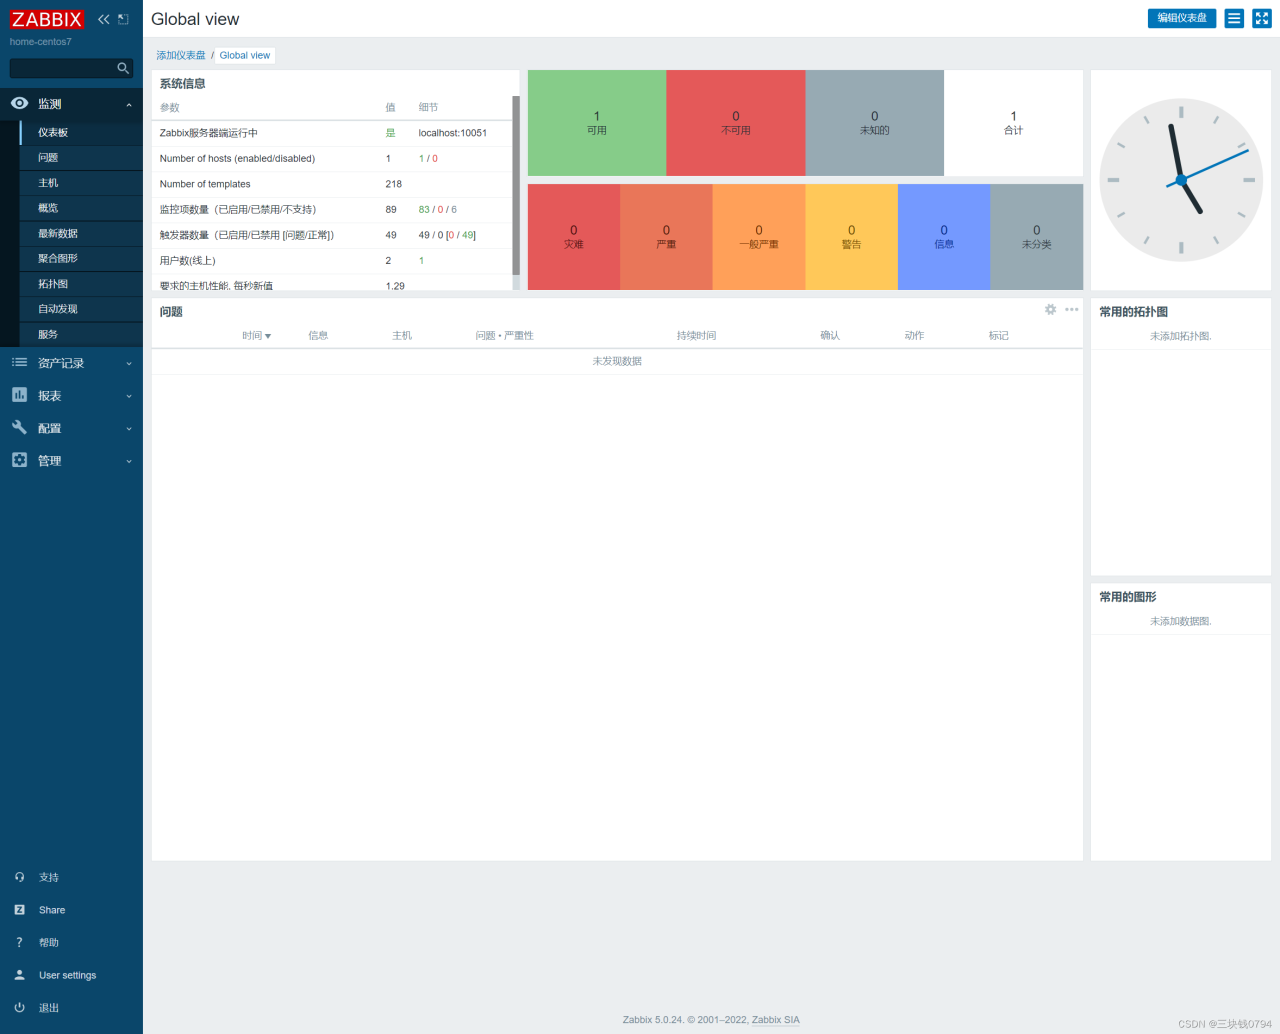
服务启动报错解决 Can't open PID file /tem/zabbix/zabbix_server.pid (yet?) chown zabbix:zabbix /tem/zabbix/服务启动报错解决 Can't open PID file /tem/zabbix/zabbix_server.pid (yet?) chown zabbix:zabbix /tem/zabbix/服务启动报错解决 Can't open PID file /tem/zabbix/zabbix_server.pid (yet?) chown zabbix:zabbix /tem/zabbix/
原文链接:https://blog.csdn.net/jxyk2007/article/details/125389917
© 版权声明
声明📢本站内容均来自互联网,归原创作者所有,如有侵权必删除。
本站文章皆由CC-4.0协议发布,如无来源则为原创,转载请注明出处。
THE END


