修改 /etc/nginx/nginx.conf,去除对 IPv6 地址的监听,如下:
server <span class="token punctuation">{ listen <span class="token number">80 default_server<span class="token punctuation">; </span></span></span>server <span class="token punctuation">{ listen <span class="token number">80 default_server<span class="token punctuation">; </span></span></span>server { listen 80 default_server;
修改完成之后,启动NGINX,并设置为开机自启
nginx chkconfig nginx onnginx chkconfig nginx onnginx chkconfig nginx on
安装MySQL
下载rmp包。
wget http<span class="token operator">:<span class="token operator">/<span class="token operator">/dev<span class="token punctuation">.mysql<span class="token punctuation">.com<span class="token operator">/get<span class="token operator">/mysql57<span class="token operator">-community<span class="token operator">-release<span class="token operator">-el7<span class="token operator">-<span class="token number">9.noarch<span class="token punctuation">.rpm</span></span></span></span></span></span></span></span></span></span></span></span></span>wget http<span class="token operator">:<span class="token operator">/<span class="token operator">/dev<span class="token punctuation">.mysql<span class="token punctuation">.com<span class="token operator">/get<span class="token operator">/mysql57<span class="token operator">-community<span class="token operator">-release<span class="token operator">-el7<span class="token operator">-<span class="token number">9.noarch<span class="token punctuation">.rpm</span></span></span></span></span></span></span></span></span></span></span></span></span>wget http://dev.mysql.com/get/mysql57-community-release-el7-9.noarch.rpm
安装rpm包
rpm -Uvh mysql57-community-release-el7-9.noarch.rpmrpm -Uvh mysql57-community-release-el7-9.noarch.rpmrpm -Uvh mysql57-community-release-el7-9.noarch.rpm
安装MySQL
yum install mysql-community-server -yyum install mysql-community-server -yyum install mysql-community-server -y
启动MySQL
systemctl start mysqld.servicesystemctl start mysqld.servicesystemctl start mysqld.service
设置MySQL密码
获取 root 临时密码
grep <span class="token string">'temporary password' <span class="token operator">/<span class="token keyword">var<span class="token operator">/log<span class="token operator">/mysqld<span class="token punctuation">.log <span class="token operator">| awk <span class="token string">'{print $NF}'</span></span></span></span></span></span></span></span>grep <span class="token string">'temporary password' <span class="token operator">/<span class="token keyword">var<span class="token operator">/log<span class="token operator">/mysqld<span class="token punctuation">.log <span class="token operator">| awk <span class="token string">'{print $NF}'</span></span></span></span></span></span></span></span>grep 'temporary password' /var/log/mysqld.log | awk '{print $NF}'
使用上一步的获得的临时密码登入 MySQL
mysql -uroot -pmysql -uroot -pmysql -uroot -p
更改MySQL的root密码为dettRoot$123
ALTER USER <span class="token string">'root'@<span class="token string">'localhost' IDENTIFIED BY <span class="token string">'dettRoot$123'<span class="token punctuation">; </span></span></span></span>ALTER USER <span class="token string">'root'@<span class="token string">'localhost' IDENTIFIED BY <span class="token string">'dettRoot$123'<span class="token punctuation">; </span></span></span></span>ALTER USER 'root'@'localhost' IDENTIFIED BY 'dettRoot$123';
退出MySQL,回到Bash shell
exit;exit;exit;
将MySQL设置为开机自启
chkconfig mysqld onchkconfig mysqld onchkconfig mysqld on
- 安装PHP
yum install php-fpm php-mysql -yyum install php-fpm php-mysql -yyum install php-fpm php-mysql -y
安装之后,启动 PHP-FPM 进程:
service php-fpm startservice php-fpm startservice php-fpm start
启动之后,可以使用下面的命令查看 PHP-FPM 进程监听哪个端口
netstat -nlpt | grep php-fpmnetstat -nlpt | grep php-fpmnetstat -nlpt | grep php-fpm
把 PHP-FPM 设置成开机自动启动
chkconfig php<span class="token operator">-fpm on</span>chkconfig php<span class="token operator">-fpm on</span>chkconfig php-fpm on
2. 安装并配置WordPress
安装
yum install wordpress -yyum install wordpress -yyum install wordpress -y
在完成安装之后,可以在 /usr/share/wordpress 看到 WordPress 的源代码。
配置MySQL数据库
## 进入mysql数据库 mysql -uroot --password='dettRoot$123' 创建数据库 CREATE DATABASE wordpress; 退出数据库 exit;## 进入mysql数据库 mysql -uroot --password='dettRoot$123' 创建数据库 CREATE DATABASE wordpress; 退出数据库 exit;## 进入mysql数据库 mysql -uroot --password='dettRoot$123' 创建数据库 CREATE DATABASE wordpress; 退出数据库 exit;
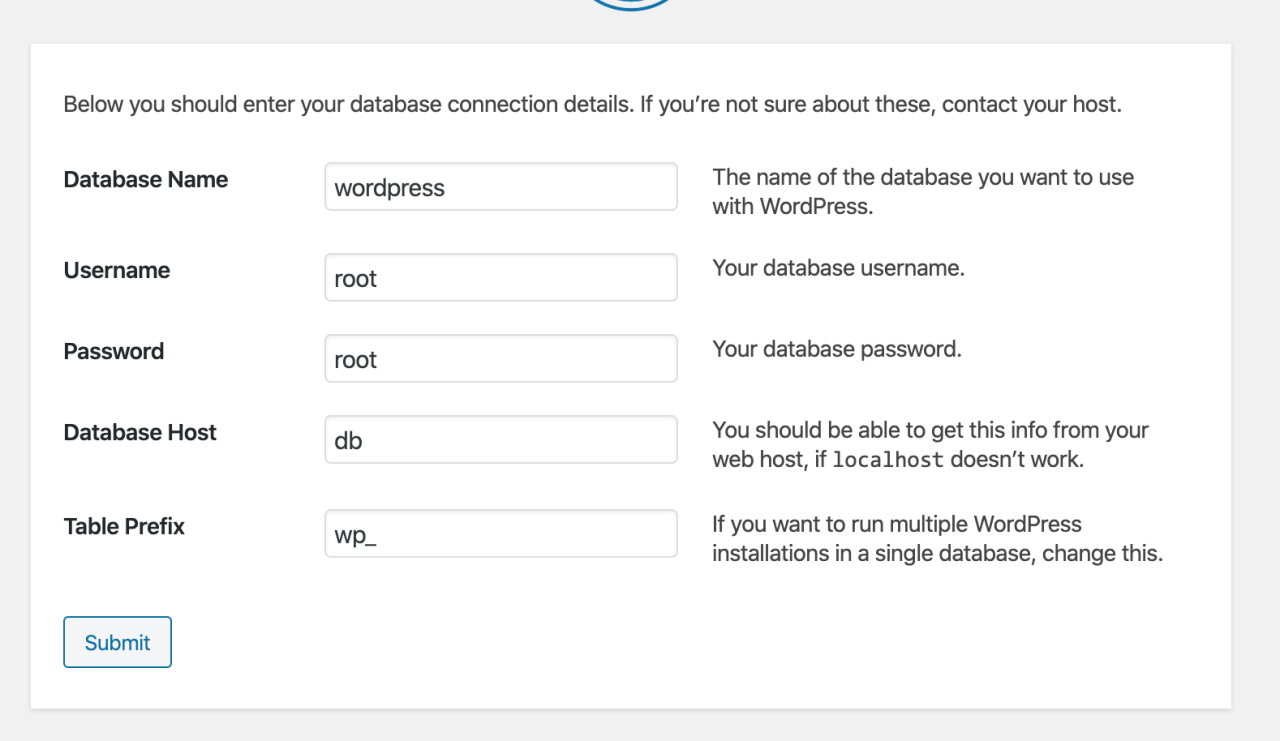
修改编辑/usr/share/wordpress/wp-config.php文件,主要修改数据库的配置信息,如下:
要根据自己之前对数据库的配置进行设置
<span class="token function">define<span class="token punctuation">(<span class="token string">'DB_NAME'<span class="token punctuation">, <span class="token string">'wordpress'<span class="token punctuation">)<span class="token punctuation">; </span></span></span></span></span></span></span><span class="token function">define<span class="token punctuation">(<span class="token string">'DB_NAME'<span class="token punctuation">, <span class="token string">'wordpress'<span class="token punctuation">)<span class="token punctuation">; </span></span></span></span></span></span></span>define('DB_NAME', 'wordpress');
- 配置NGINX
WordPress 已经安装完毕,我们配置 Nginx 把请求转发给 PHP-FPM 来处理
进入NGINX配置目录
cd /etc/nginx/conf.d/cd /etc/nginx/conf.d/cd /etc/nginx/conf.d/
修改/etc/nginx/nginx.conf文件,如下
server <span class="token punctuation">{ listen <span class="token number">80<span class="token punctuation">; root <span class="token operator">/usr<span class="token operator">/share<span class="token operator">/wordpress<span class="token punctuation">; location <span class="token operator">/ <span class="token punctuation">{ index index<span class="token punctuation">.php index<span class="token punctuation">.html index<span class="token punctuation">.htm<span class="token punctuation">; try_files <span class="token variable">$uri <span class="token variable">$uri<span class="token operator">/ <span class="token operator">/index<span class="token punctuation">.php index<span class="token punctuation">.php<span class="token punctuation">; <span class="token punctuation">} </span></span></span></span></span></span></span></span></span></span></span></span></span></span></span></span></span></span></span></span></span>server <span class="token punctuation">{ listen <span class="token number">80<span class="token punctuation">; root <span class="token operator">/usr<span class="token operator">/share<span class="token operator">/wordpress<span class="token punctuation">; location <span class="token operator">/ <span class="token punctuation">{ index index<span class="token punctuation">.php index<span class="token punctuation">.html index<span class="token punctuation">.htm<span class="token punctuation">; try_files <span class="token variable">$uri <span class="token variable">$uri<span class="token operator">/ <span class="token operator">/index<span class="token punctuation">.php index<span class="token punctuation">.php<span class="token punctuation">; <span class="token punctuation">} </span></span></span></span></span></span></span></span></span></span></span></span></span></span></span></span></span></span></span></span></span>server { listen 80; root /usr/share/wordpress; location / { index index.php index.html index.htm; try_files $uri $uri/ /index.php index.php; }
配置后,通知 Nginx 进程重新加载:
nginx -s reloadnginx -s reloadnginx -s reload
3. 检查
后台访问地址:http://IP/wp-admin/install.php
前端博客地址:http://IP
原文链接:https://www.cnblogs.com/heyaoxin666/p/12372900.html
© 版权声明
声明📢本站内容均来自互联网,归原创作者所有,如有侵权必删除。
本站文章皆由CC-4.0协议发布,如无来源则为原创,转载请注明出处。
THE END
