It has been 541 days since the last update, the content of the article may be outdated.
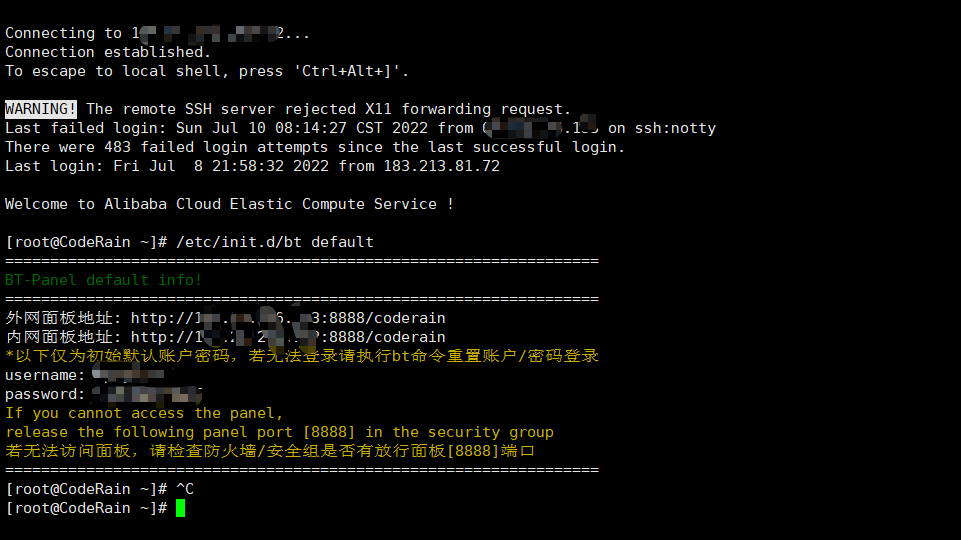
宝塔系统依托于 Centos 开发,所以我们服务器系统选择 Centos7+
yum install -y wget && wget -O install.sh http://download.bt.cn/install/install_6.0.sh && sh install.shyum install -y wget && wget -O install.sh http://download.bt.cn/install/install_6.0.sh && sh install.shyum install -y wget && wget -O install.sh http://download.bt.cn/install/install_6.0.sh && sh install.sh
安装完成后,登录宝塔,首次登录会提示我们安装环境,我们勾选
即可。
之后,我们在 home 文件夹下新建 git,hexo 这两个文件夹
随后,我们登录我们的服务器,一次执行
cd .. cd home cd git git init --bare blog.gitcd .. cd home cd git git init --bare blog.gitcd .. cd home cd git git init --bare blog.git
接着,在目录 /home/git/blog.git/hooks 下新建文件 post-receive,写入一下代码
git --work-tree=/home/hexo --git-dir=/home/git/blog.git checkout -fgit --work-tree=/home/hexo --git-dir=/home/git/blog.git checkout -fgit --work-tree=/home/hexo --git-dir=/home/git/blog.git checkout -f
给 post-receive 权限
chmod +x /home/git/blog.git/hooks/post-receivechmod +x /home/git/blog.git/hooks/post-receivechmod +x /home/git/blog.git/hooks/post-receive
宝塔面板默认的
配置文件在根目录 ->www->serve->nginx->conf 下,找到
,编辑它
重启 nginx 服务
service nginx restartservice nginx restartservice nginx restart
修改
中的配置
deploy: type: git repo: user@ip:/home/git/blogdeploy: type: git repo: user@ip:/home/git/blogdeploy: type: git repo: user@ip:/home/git/blog
这个时候配置差不多就好了,
部署后就可以访问博客了
接下来在宝塔面板里添加网站
之后在阿里云将域名解析到服务器 ip 即可
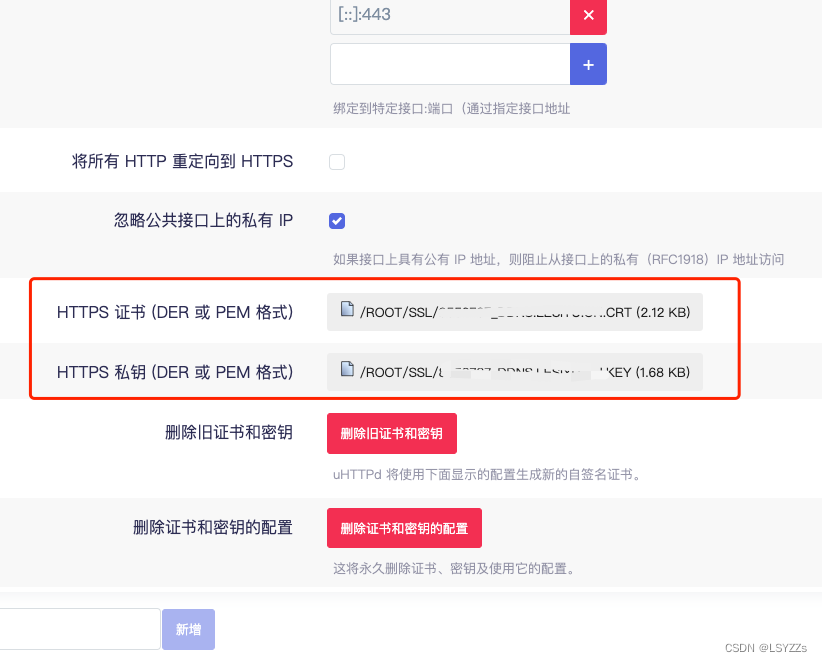
在阿里云中申请个证书,将内容填入其中即可
原文链接:https://blog.csdn.net/qq_30141543/article/details/125576154
© 版权声明
声明📢本站内容均来自互联网,归原创作者所有,如有侵权必删除。
本站文章皆由CC-4.0协议发布,如无来源则为原创,转载请注明出处。
THE END


